
You open the fridge and a jar of salsa slides toward the edge. Behind the takeout containers sits a bag of spinach you bought with the best intentions, and there’s a smell you’d rather not investigate. Meanwhile, the fridges on Pinterest look like tiny grocery stores — everything lined up, labeled, and glowing.
Here’s what nobody tells you: those Pinterest fridges aren’t about owning a fancier fridge. They come down to clear bins, simple zones, and one short weekly habit. You can get the same look in your perfectly ordinary fridge in a single afternoon, for less than the cost of one grocery run.
Below are 21 ideas, grouped by what part of the fridge they fix. Start wherever your fridge annoys you most.
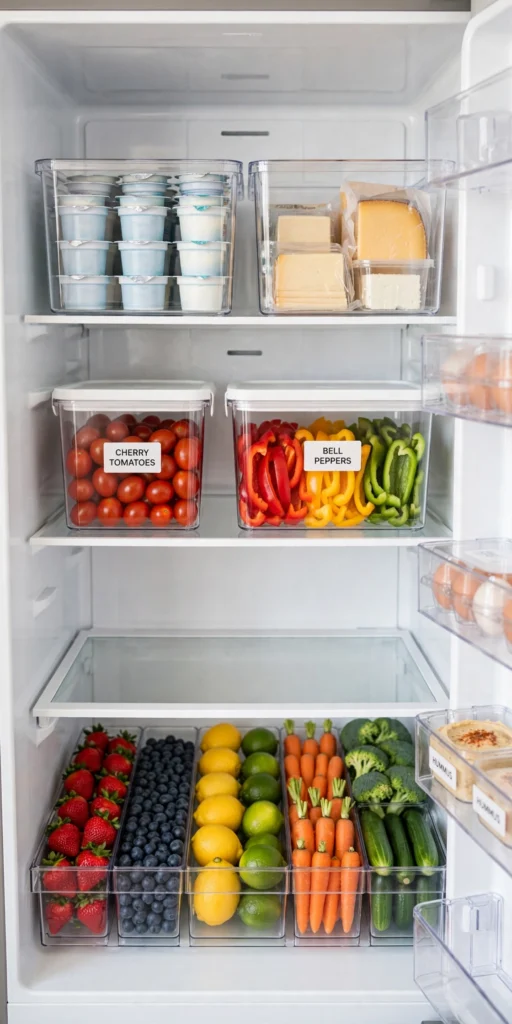
What you’ll learn in this guide
- Which bins and containers actually earn their shelf space (and which to skip)
- How to divide your fridge into zones so everyone knows where things live
- The small finishing touches that create that Pinterest look
- Renter-friendly tricks for mini fridges and awkward layouts
- The one weekly habit that keeps it from sliding back into chaos
What to Buy Before You Start (Under $50 Total)
You don’t need everything here — but if you’re starting from zero, this is the complete kit behind all 21 ideas:
- Clear stackable bins, 6-pack — about $18 at Target or Walmart. The single most impactful purchase.
- 10-inch turntable — about $8. Get one with a non-slip surface so bottles don’t slide.
- Label maker or chalk markers — about $10. Chalk markers on bin clips work if you’d rather not buy a gadget.
- Shelf liner roll — about $8. One roll covers a standard fridge with some left over.
- Wire shelf riser — about $7. Optional but transformative for short items.
- Fridge thermometer — about $5. Cheap insurance for food safety.
All in: roughly $40–50 for everything, or under $25 if you start with just bins, labels, and liner. Dollar stores carry perfectly decent clear bins — just check that they’re labeled BPA-free and food-safe before putting produce in them.
Containers That Earn Their Space
Most “aesthetic fridge” photos have one thing in common: you can see everything. Clear containers are the whole trick.
1. Use stackable clear bins for categories
A set of clear plastic bins — about $3 to $5 each at Target or Walmart — turns a jumbled shelf into neat rows. Measure your shelf height before you buy; standard fridge shelves fit bins up to 6 inches tall. Group like with like: one bin for yogurts, one for cheese, one for deli meat.
2. Add a turntable for condiments
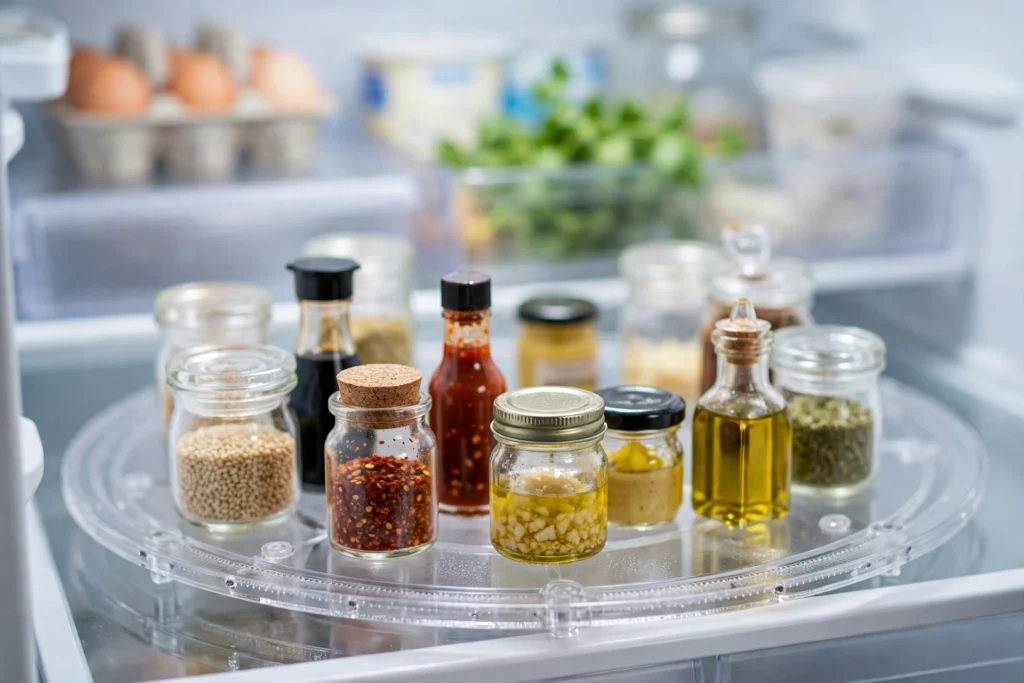
Condiments multiply and migrate to the back of the fridge. A 10- or 12-inch lazy Susan corrals them into one spinning spot. One spin and you can see every bottle — no more buying your third jar of Dijon mustard.
3. Switch to a flat, stackable egg holder
The cardboard egg carton is bulky and never sits right. A flat plastic egg holder stacks neatly, holds 14 to 18 eggs, and slides onto any shelf. It costs around $8 and instantly tidies a whole shelf.
4. Corral cans with a drink dispenser
A simple can dispenser — the kind that rolls cans forward as you grab one — keeps sodas and sparkling water in a single neat row instead of a leaning tower. About $10, and it fits on most shelves or in the door.
5. Line the door with narrow bins
Fridge door shelves run deep, and small items vanish in them. Slim bins around 3 inches wide split each door shelf into two or three lanes: hot sauces in one, salad dressings in another. Nothing hides anymore.
Zone It Like a Grocery Store
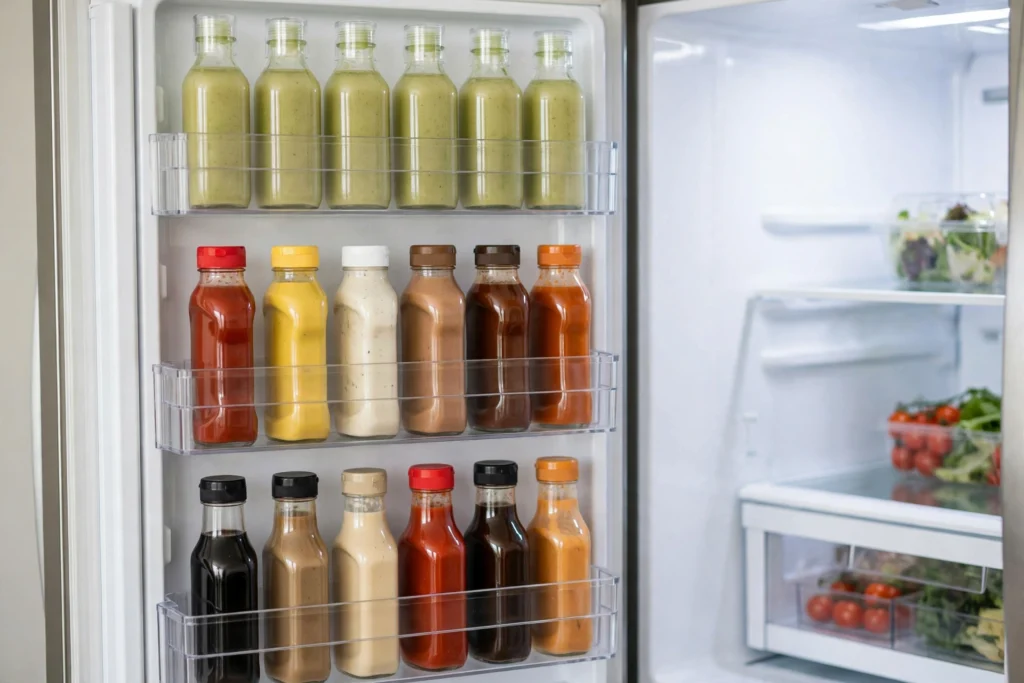
Grocery stores look organized because everything has a zone. Give your fridge the same treatment and the whole family will maintain it without thinking.
6. Assign every shelf a job
Top shelf: drinks and ready-to-eat foods. Middle shelf: meal prep and leftovers in clear containers. Bottom shelf: raw meat and fish on a rimmed tray — it’s the coldest spot, and the tray catches drips. Crisper drawers: produce. Once zones exist, putting groceries away takes about two minutes.
7. Create an “eat me first” bin
Most food waste comes from forgetting, not overbuying. Keep one small clear bin labeled “Eat Me First” for anything that expires in the next two or three days — the half avocado, the opened pasta sauce. Glance at it before you start cooking.
8. Build a kids’ snack station at their eye level
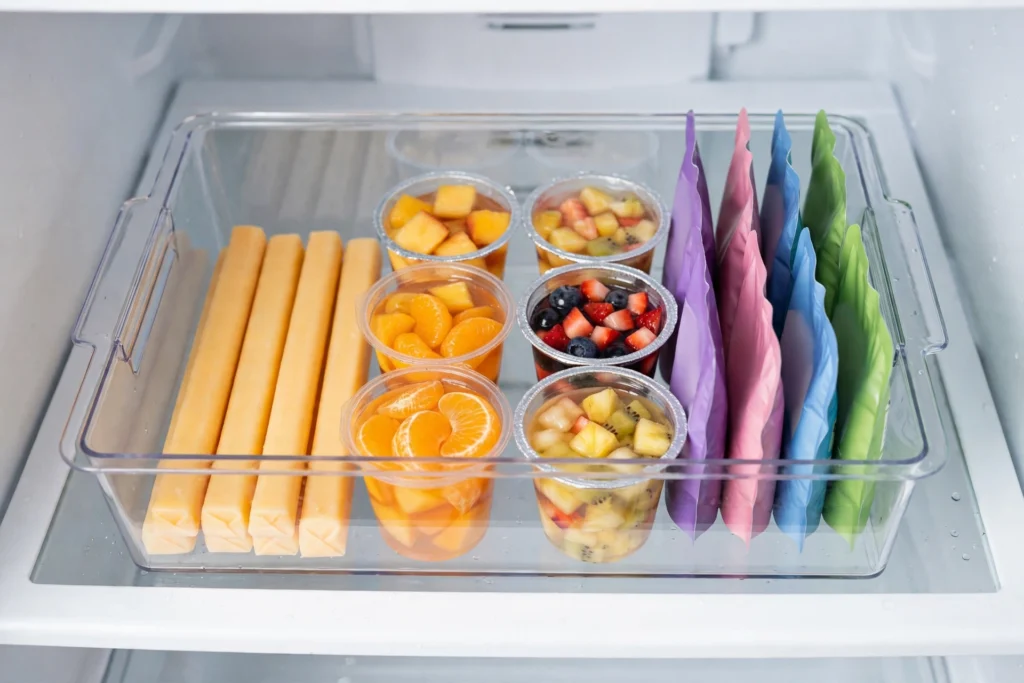
One low bin with portioned snacks — cheese sticks, fruit cups, yogurt pouches — placed where kids can reach it changes everything. They grab their own snacks and stop rearranging your entire fridge hunting for them.
9. Give leftovers a dedicated zone with matching containers
Leftovers in five different container shapes look chaotic even when they’re fresh. Pick one set of stackable glass containers (a 10-piece set runs about $25) and keep them in a single zone. You’ll see at a glance what needs eating first.
The Pretty Details
This is where the Pinterest look actually comes from — small, cheap finishing touches.
10. Label every bin
A $10 label maker — or a chalk marker on bin clips — is the fastest aesthetic upgrade there is. “Snacks,” “Dairy,” “Sauces.” Labels make the fridge look intentional, and they stop everyone else from undoing your system.
11. Lay down wipeable shelf liners
Clear plastic shelf liners, about $8 for a roll, protect glass shelves and wipe clean in seconds. They stop jars from sliding around and give the whole interior a finished, deliberate look.
12. Decant produce into vented containers
Berries, grapes, and cherry tomatoes last longer and look far better in clear produce containers with vents — around $15 for a set of four. Wash everything, dry it thoroughly, and transfer it the day you bring groceries home.
13. Keep one door bin just for water bottles
Reusable water bottles topple and roll around loose. Dedicate one door bin to them, standing upright in a row. It looks tidy, and you’ll actually remember to grab one on your way out.
Small Fridge and Rental Hacks
No built-in drawers? Tiny apartment fridge? The system still works — just at a smaller scale.
14. Double-stack short items with shelf risers
Yogurt cups and baby food jars waste all the vertical space above them. A $7 wire shelf riser creates a second level on any shelf. Instant double capacity, no remodel, no drilling.
15. Use mini bins in a mini fridge
Dorm and apartment fridges need the same system at half scale. Small 4-inch bins plus a single turntable bring real order to even the tiniest fridge. Measure first — mini fridge shelves are often under 5 inches tall.
16. Move the overflow to the freezer — properly
Bulk buys don’t belong crammed into a small fridge. Portion meat, bread, and berries into labeled freezer bags, press the bags flat, and file them upright like folders. Flat-frozen bags take up roughly half the space of lumpy ones.
17. Tame the packet graveyard
Ketchup, soy sauce, and taco sauce packets breed in every fridge door. Stand a small cup or ramekin in the door bin and stuff them all in vertically. While you’re at it, toss anything older than six months — yes, really.
Keep It That Way
Organization without maintenance lasts about a week. These four habits make it stick.
18. Do a 15-minute fridge reset every week
Pick a day — Sunday works for most households. Toss anything expired, wipe one shelf with a damp cloth, and return wanderers to their zones. Fifteen minutes, timer on. That’s the entire system.
19. Keep a magnetic grocery notepad on the door
Overbuying causes most fridge chaos. When you finish something, write it on a $5 magnetic notepad stuck to the fridge door. You buy what you need, and everything you buy fits the zones you built.
20. Practice one-in, one-out for condiments
No new hot sauce until the old bottle is finished. Condiments are the number one fridge clutter category, and this single rule caps them permanently.
21. Check the temperature twice a year
Food stored at 37–40°F lasts noticeably longer, which means less waste and fewer mystery smells. A $5 fridge thermometer takes ten seconds to read. Check it when the seasons change and adjust the dial.
Your Fridge Organization Checklist
- Stackable clear bins for categories
- Turntable for condiments
- Flat, stackable egg holder
- Can dispenser for drinks
- Narrow bins for door shelves
- Shelf zones assigned (drinks / meal prep / raw meat / produce)
- “Eat me first” bin
- Kids’ snack station at their eye level
- Leftover zone with matching containers
- Labels on every bin
- Wipeable shelf liners
- Vented produce containers
- Dedicated water bottle bin
- Shelf risers for short items
- Mini bins for small fridges
- Freezer overflow filed flat in labeled bags
- Packet cup in the door
- Weekly 15-minute fridge reset
- Magnetic grocery notepad on the door
- One-in, one-out condiment rule
- Fridge thermometer reading 37–40°F
FAQ
How can I make my fridge look aesthetic on a budget?
About $25 covers it: a few dollar-store clear bins, a pack of labels, and a roll of shelf liner. The aesthetic comes from uniformity and zones, not expensive organizers — matching bins beat fancy ones every time.
How often should I clean out my fridge?
Do the 15-minute reset weekly — toss expired items, wipe one shelf, return wanderers to their zones — and a full deep clean with everything out once a month. The weekly reset is what keeps the monthly clean from being awful.
What’s the best way to organize a very small fridge?
Shrink the system: mini bins, one turntable, and strict zones. Be ruthless about the door — in a small fridge, every door bin needs a job, or it becomes a junk drawer within a week.
Should I decant everything into matching containers?
No. Decant produce and snacks, where it helps freshness and visibility. Keep dairy, meat, and anything with a use-by date in its original packaging so the date stays visible. Food safety beats aesthetics.
An aesthetic fridge isn’t a luxury — it’s just a system. Pick three ideas from the list, do them this weekend, and enjoy opening your fridge for the first time in ages.
Keep going: find more ideas in Kitchen Organization, build routines that stick in Cleaning Routines, and do it all cheaply with Budget Finds.