
You know the scene: it’s October 1st, you’re excited to decorate, and you drag down the Halloween bins from the attic. Inside? A tangled nest of string lights, a broken plastic skeleton, three bins of “miscellaneous spooky stuff” with no labels, and that inflatable ghost with a slow leak you’ve been meaning to toss for two years. A little Halloween decor organization now means next October starts in minutes, not hours.
⏱️ Short on time?
Grab our FREE printable checklists — the exact routines behind every calm home on this blog:
📋 Room-by-Room Checklist (PDF)📅 Weekly Reset Checklist (PDF)
Part of our Living Room, Bedroom & Holiday Storage Guide, which brings every related post together in one place.
Forty-five minutes later, surrounded by dusty chaos, the excitement is gone.
Halloween decorating should be fun — not an archaeological dig through mystery bins. The difference between Halloween joy and Halloween dread is entirely about organization: a smart storage system, labeled bins, and a setup/teardown routine that takes minutes instead of hours. Here are 15 ideas that will change your October forever.
The Bin System: Your Foundation
Everything starts with how you store. Get this right and every other idea falls into place.
1. Sort by zone, not by type
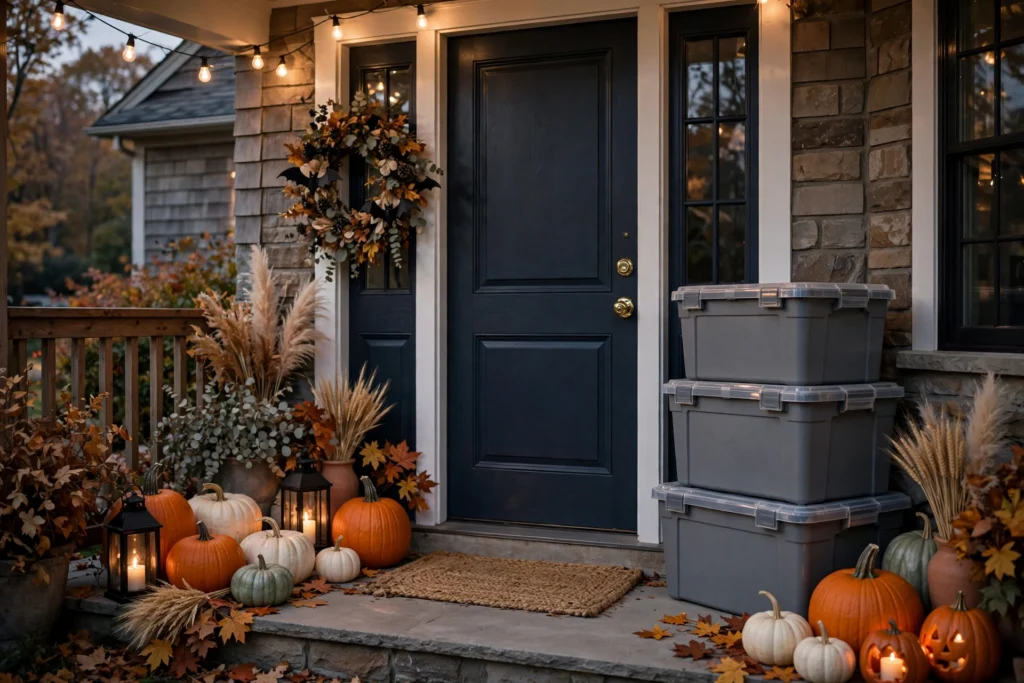
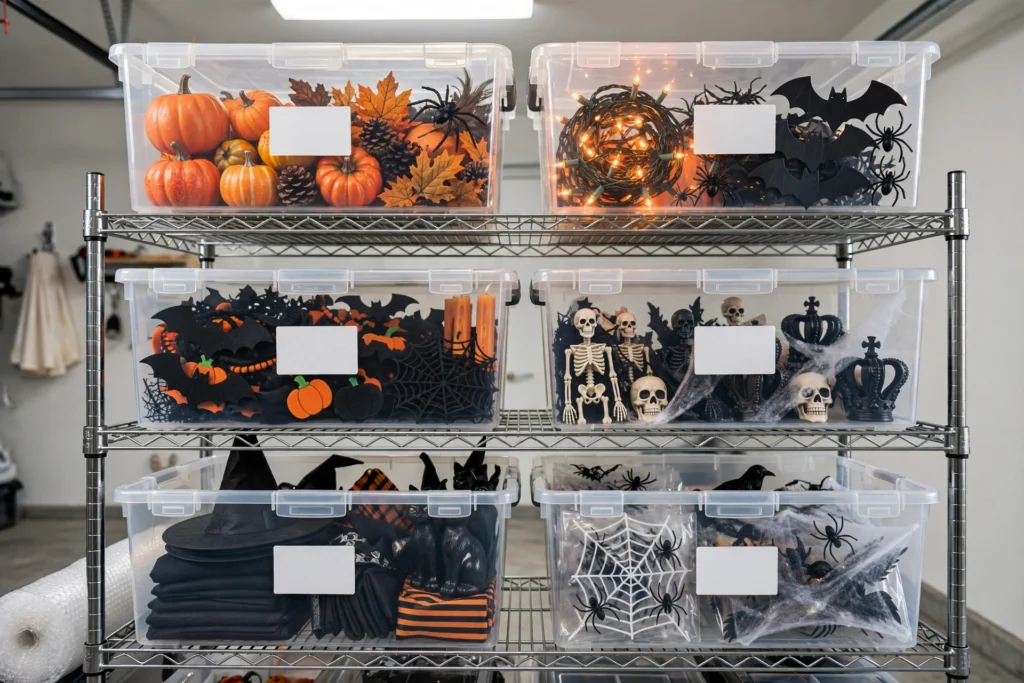
Most people store all “Halloween stuff” together in one giant bin. Don’t. Sort your decor by WHERE it goes: one bin for porch/outdoor, one for living room, one for mantel/tabletop. When it’s time to decorate, you grab the porch bin and go straight outside — no digging through indoor candles to find your outdoor stakes.
2. Use clear bins with bold labels
Clear 27-gallon bins ($12–$18 at Home Depot or Target) let you see contents instantly. Label each bin on TWO sides with a label maker or thick Sharpie on painter’s tape: “HALLOWEEN — PORCH,” “HALLOWEEN — LIVING ROOM.” Label both sides because bins get stacked and turned around in storage. Most of these supplies cost under $20 total — our budget home organization ideas under $25 has more cheap storage wins that work for every holiday.
3. Photograph each bin’s contents
Before sealing a bin for the year, snap a photo of what’s inside and tape a printout (or a QR code linking to the photo) on the lid. Next October, you’ll know exactly which bin has the pumpkin lights without opening three of them. This takes 30 seconds and saves 30 minutes.
4. Create a “needs replacing” list
Keep a running note on your phone: “inflatable ghost — slow leak, replace 2026” or “need 2 more outdoor extension cords.” When Halloween clearance sales hit on November 1st (50–75% off!), you’ll buy exactly what you need instead of guessing.
Setup and Teardown Systems
5. Wrap string lights around cardboard, not in balls
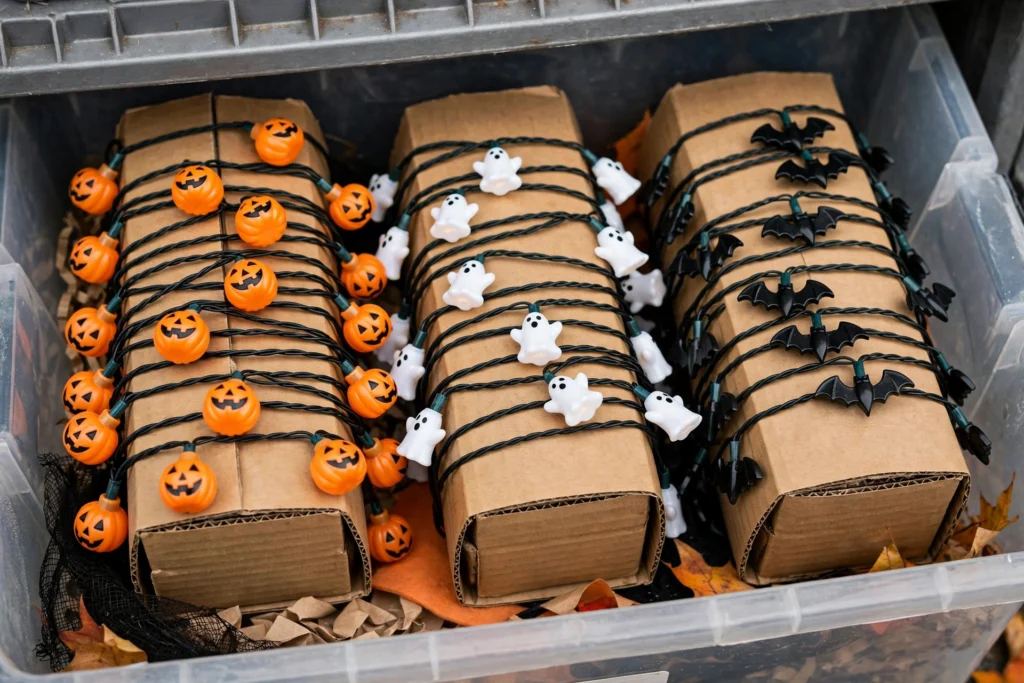
The #1 source of Halloween decorating rage is tangled lights. Wrap each strand around a flat piece of cardboard (cut from a shipping box), secure the ends with a binder clip, and store flat in the bin. Next year they unroll perfectly — no untangling, ever.
6. Bag small items in zip bags by display
Put all the pieces for one display together in a gallon zip bag: the mantel’s mini pumpkins, battery candles, and garland go in one bag labeled “MANTEL.” Tabletop scatter, window clings, and bathroom spooky soap go in their own bags. You decorate one display at a time without hunting for pieces.
7. Store wreaths in wreath boxes or garment bags
Wreaths get crushed in bins. A $10 wreath storage box (or a free garment bag from dry cleaning) keeps them flat and dust-free. Hang them on a hook in the storage area rather than stacking things on top.
8. Do a 15-minute teardown routine on November 1st
Don’t let decor sit until Thanksgiving. The day after Halloween, do a focused teardown: one bin per zone, lights wrapped on cardboard, trash tossed immediately. It takes 15 minutes per zone when you do it right away versus an hour when things have been sitting for weeks. Play music, make it a family event.
Outdoor Decor Organization
Outdoor Halloween decor takes the most abuse from weather — it needs the most thoughtful storage.
9. Dry everything before storing
This is non-negotiable. Wet inflatables stored in bins grow mold. Lay everything out in the garage or on the driveway for a day to fully dry before packing. Wipe down plastic items with a damp cloth to remove dirt and spider webs (real ones, not the decorative kind).
10. Deflate and fold inflatables properly
Don’t just shove inflatables in a bin. Deflate completely, fold neatly (not crumpled), and store in the original box or a large zip bag with the stakes, tethers, and power cords together. A crumpled inflatable develops creases that become weak spots and tears.
11. Coil extension cords with the over-under method
Outdoor Halloween displays eat extension cords. Coil each cord using the over-under technique (alternate the direction of each loop — it prevents the twisting that causes permanent kinks). Secure with a Velcro cord tie ($6 for a pack of 20) and label the length on the tie with a Sharpie: “25 FT — PORCH.”
Indoor Display Ideas That Stay Tidy
12. Designate a “Halloween shelf” for year-round favorites
If you have 2–3 Halloween pieces you genuinely love (a nice ceramic pumpkin, a quality wreath), give them a permanent home on a closet shelf or in a cabinet rather than the attic. You’ll actually use them every year instead of forgetting they exist.
13. Use trays to contain tabletop displays
Corral tabletop Halloween decor on decorative trays ($8–$15 at HomeGoods). A tray turns scattered mini pumpkins and candles into one intentional display — and when you need the table, you lift one tray instead of moving twelve items. This trick works year-round, by the way.
14. Battery candles instead of real ones (for sanity)
Real candles in carved pumpkins look amazing for exactly one evening, then you’re scraping wax. LED flickering tea lights ($10 for a 24-pack) look convincingly real, last all season on one set of batteries, and eliminate the fire worry entirely. Store them with batteries removed to prevent corrosion.
15. Keep a “donate” bag in your storage area
Every year, your taste changes or kids outgrow themes. Keep a bag right next to your Halloween bins. When you unpack and find something you don’t love anymore, it goes straight in the bag — not back in the bin. Donate the bag in September before the next season. Your future self will thank you for the lighter bins.
The Complete Halloween Storage Checklist
Packing Up (November 1st): – Dry all outdoor items completely before storing – Wrap string lights around cardboard pieces – Bag small display pieces in labeled zip bags by zone – Deflate and fold inflatables neatly with all accessories – Coil extension cords with Velcro ties, label lengths – Photograph each bin’s contents, attach photo to lid – Update “needs replacing” list on phone – Toss broken items immediately — don’t store trash – Add unwanted items to the donate bag
Setting Up (October 1st): – Pull bins by zone — decorate one area at a time – Test all lights and inflatables before displaying – Replace batteries in LED candles and timers – Check extension cords for damage – Shop November 1st clearance for next year’s replacements
Storage Location Tips
Where you store matters as much as how:
- Garage: Fine for plastic and outdoor items, but temperature swings damage delicate pieces. Keep bins off the concrete floor on a shelf or pallet — moisture seeps up.
- Attic: Great for Halloween (used once a year), but extreme heat can warp cheap plastic. Store inflatables and electronics (timers, projectors) in climate-controlled space instead.
- Basement: Watch for moisture. Use sealed bins with a few silica gel packets ($8 for a large bag) inside each one.
- Closet: Ideal for wreaths, delicate ceramics, and anything you want to grab easily.
For general seasonal storage principles, our christmas organization ideas use the same zone-based bin system — once you learn it for Halloween, Christmas takes half the time. And if your porch is the main display zone, our entryway organization ideas will help you keep it functional (not just spooky) through the season.

Save this for later
Pin this image to your Pinterest board so it’s there when you need it.
 Save to Pinterest
Halloween Decor Organization FAQ
How should I store Halloween decorations so they last? Clean and fully dry everything before storing, sort by display zone (not by type) into clear labeled bins, wrap string lights around cardboard to prevent tangling, and store inflatables deflated and folded — never crumpled. Keep delicate items in climate-controlled space rather than a hot attic.
When should I put up and take down Halloween decorations? Most people decorate during the first week of October and take everything down on November 1st or 2nd. Taking decor down promptly (rather than letting it sit for weeks) makes teardown dramatically faster — 15 minutes per zone versus an hour of dealing with weather-worn, scattered items.
How do I keep Halloween decorating from becoming a mess every year? The zone-based bin system is the single biggest fix: one bin per area (porch, living room, mantel), with small items bagged by display inside each bin. Photograph bin contents before sealing, keep a running “needs replacing” list, and do teardown the day after Halloween while everything is still fresh in your mind.
Want the printable version? Join the Neat Freak Club — it’s free! Get the Halloween bin-label templates and teardown checklist as printables, plus our full holiday organization planner pack.
Keep going: pair this guide with our costume storage ideas.
Pingback: Halloween Party Cleaning Checklist: Before & After - Neat Freak Nest
Pingback: 18 Fall Entryway Decor Ideas (Cozy & Organized)