
The best gift wrap storage ideas give each shape its own home: rolls stand upright in a tall bin or lie flat in a 36-inch under-bed box, ribbon spools slide onto a rod, tape and scissors live in one supply box, and gift bags fold flat inside one large gift bag. Below are 17 ways to set that up in a closet, on a door or in a corner.
⏱️ Short on time?
Grab our FREE printable checklists — the exact routines behind every calm home on this blog:
📋 Room-by-Room Checklist (PDF)📅 Weekly Reset Checklist (PDF)
Every December it happens: you’re ready to wrap, and the supplies are… everywhere. Rolls crushed behind the closet door, ribbon tangled in a grocery bag, tape missing, gift bags folded into a mystery box from two moves ago. So you buy more — and the pile grows.
Part of our Closets, Laundry & Storage Guide, which brings every related post together in one place.
Gift wrap is actually one of the easiest categories to organize permanently, because everything is light, flat, or rolls into a tube. The trick is giving it one home with a system for each shape: rolls, ribbon, bags, and tools. These 17 gift wrap storage ideas cover every home size and budget — set them up once in October or November, and wrapping season becomes grab-and-go.
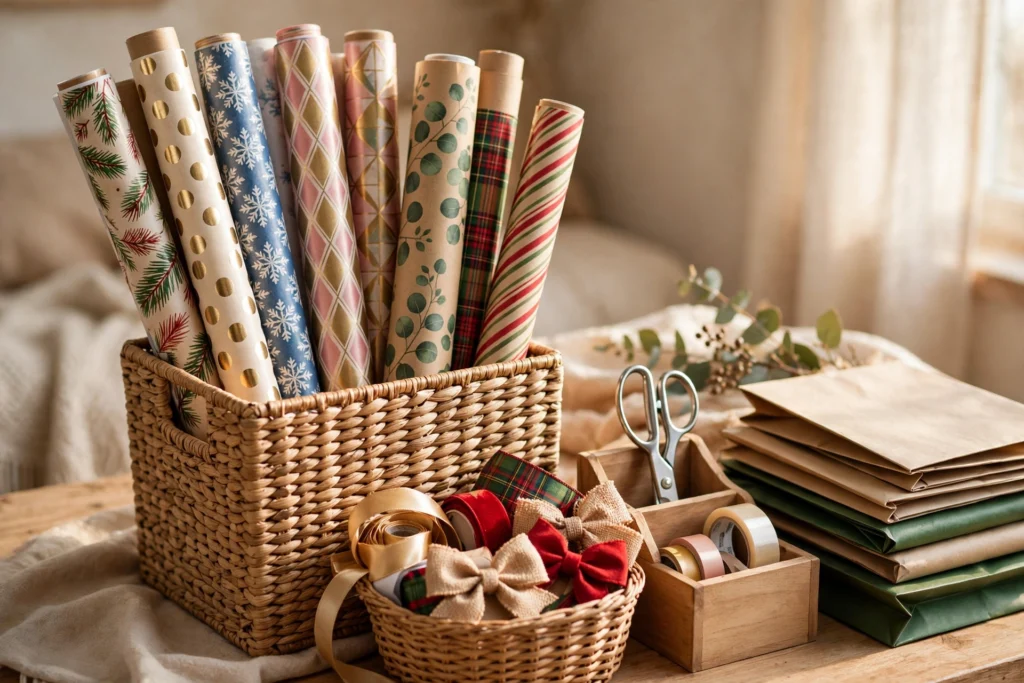
How to Organize Wrapping Paper and Gift Bags (Quick Answer)
- Gather everything into one pile and pull out duplicates, crushed rolls and torn bags.
- Rolls: stand them upright in a tall basket or bin, or lay them in a long under-bed box. Put a rubber band on every opened roll.
- Gift bags: fold them flat, sort by size and file them inside your biggest gift bag, then hang it on a closet hook. Flat bags take almost no space.
- Ribbon: thread spools onto a dowel or tension rod so they pull out without tangling.
- Tools: scissors, two rolls of tape, tags and a pen go in one shoebox-size supply box.
- Small closet? An over-the-door wrap organizer holds rolls, tags and tools with nothing on the floor.
First: Give It All One Home
Before you buy a single organizer, gather every roll, bag, bow, and tape dispenser from every closet, drawer, and garage corner into one pile. Most people discover they own far more than they thought — including three rolls of the same paper. One home for everything is the rule, ideally near where you actually wrap. These ideas are organized by what you’re storing, so you can mix and match the ones that fit your space.
Zone 1: Storing the Rolls
1. Stand rolls upright in a tall bin
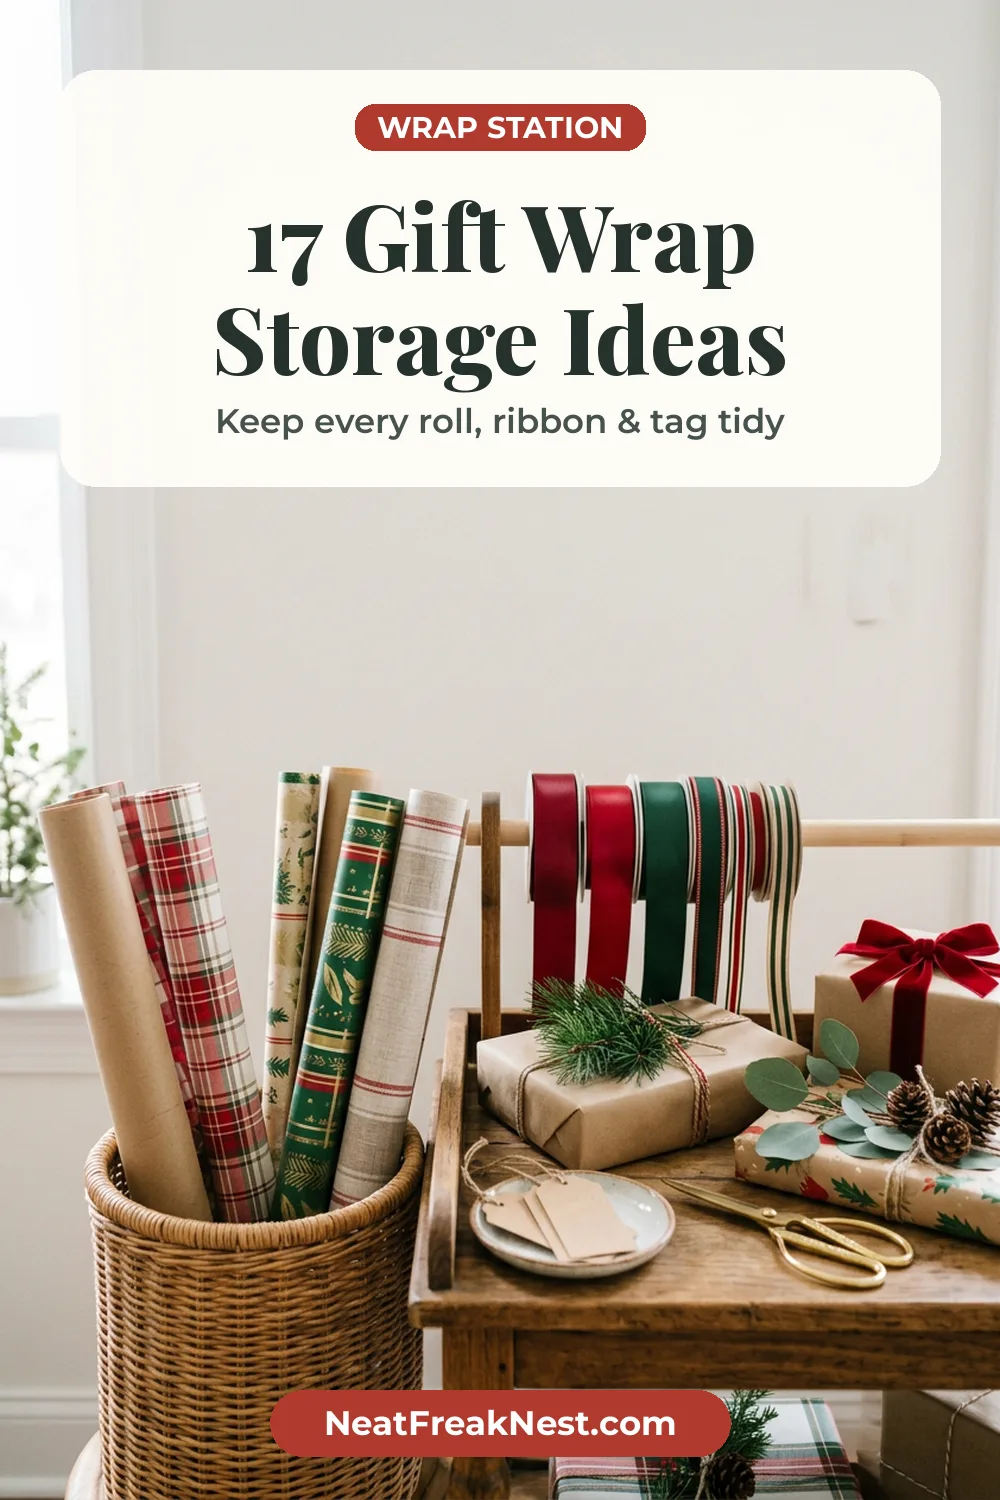
The simplest system that works: a tall basket, umbrella stand, or clean small trash can in a closet corner, with rolls standing upright like flowers in a vase. You can see every pattern at a glance, rolls don’t crush each other, and the whole thing costs $0–10. Add a rubber band around each opened roll to stop it unraveling.
2. Slide them under the bed
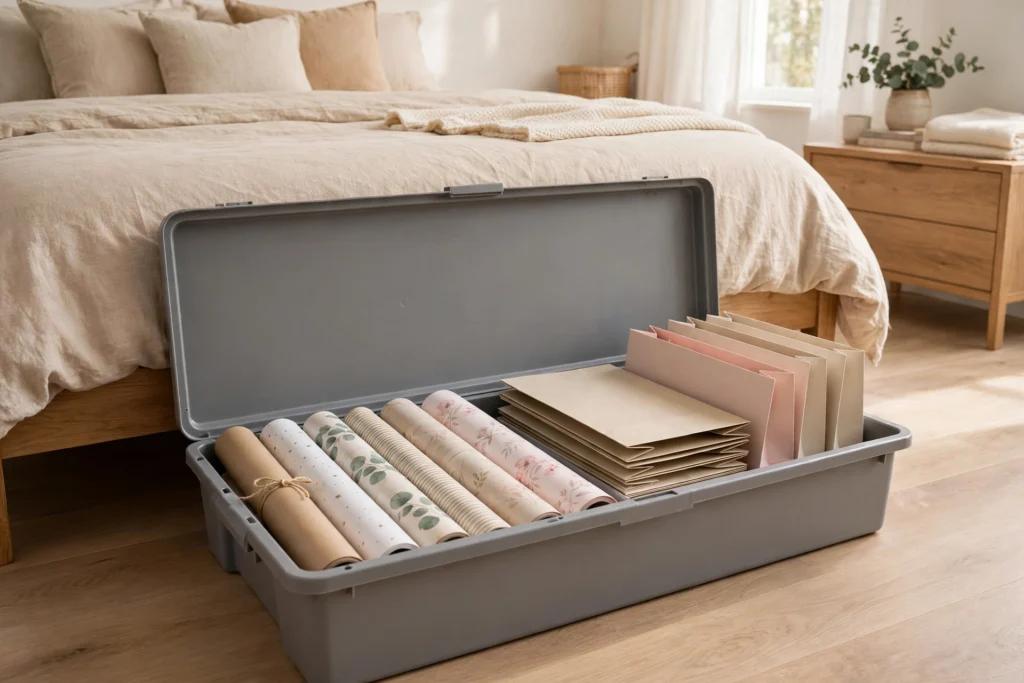
A long, low under-bed box (look for 36 inches or longer) is purpose-built for wrap: rolls lie flat and protected, gift bags fit beside them, and the box disappears until wrapping day. It’s the same dead space used in our favorite under-bed storage ideas — and it keeps holiday supplies out of everyday closets entirely.
3. Hang rolls in a garment bag
A clear garment bag hung on a closet rod holds 12–15 rolls vertically, dust-free and off the floor. It takes up about 4 inches of rod space, and the clear front means no guessing which bag has the birthday paper. Perfect for spare-bedroom closets that are mostly empty anyway.
4. Use the back of a door
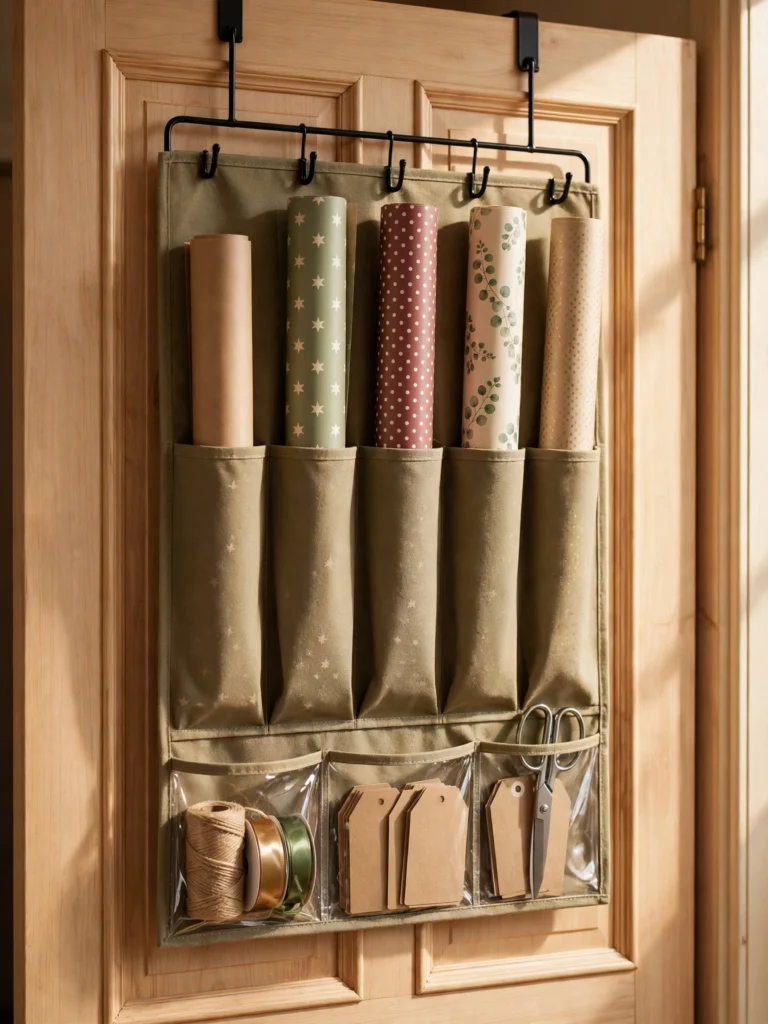
An over-the-door wrap organizer turns a closet door into a full station: long pockets for rolls, small pockets for tags, scissors, and tape. Nothing touches the floor, everything is visible, and renters don’t drill a single hole. In a small closet, this is often the difference between “no room for wrap” and a complete wrapping station.
5. Build a rolling wrap cart
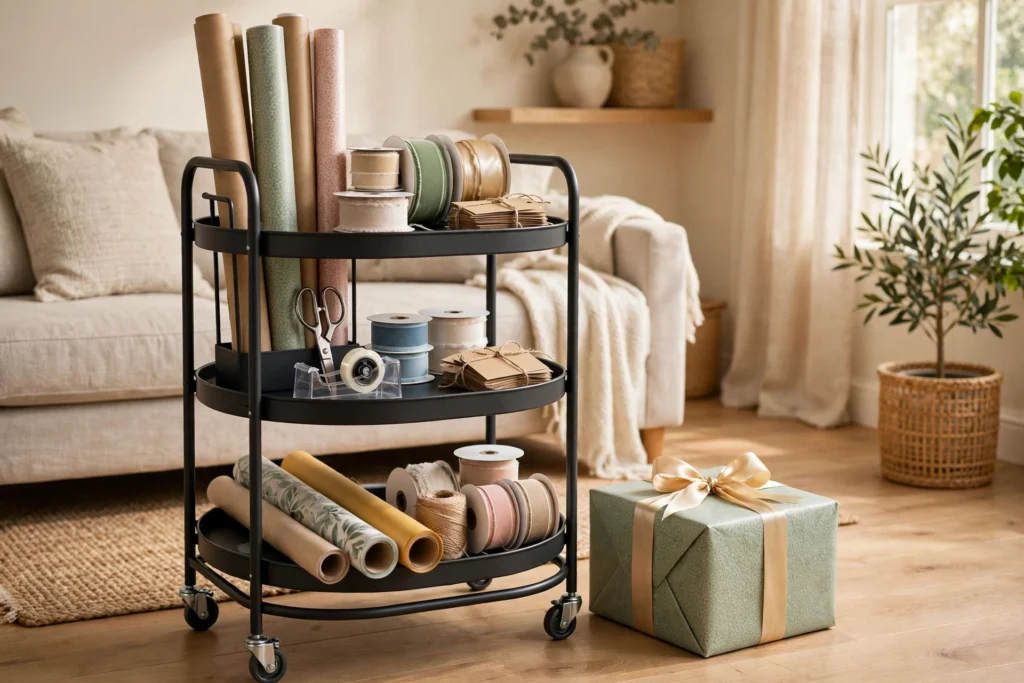
A slim rolling cart with tall sides (or a standard 3-tier cart with rolls laid diagonally) makes a portable station: rolls on one level, tools and tags on another. Roll it to the dining table in December, roll it back to the closet in January. Best option if you wrap for a big family and want everything mobile.
6. Corral rolls in a closet corner with a tension rod
Stand rolls in an awkward closet corner and run a short tension rod across the corner at mid-height to keep them from tipping. The corner becomes a dedicated wrap nook for about $5, and it uses space that fits almost nothing else.
Zone 2: Ribbon, Tags, and Tools
7. Turn ribbon spools into a dispenser
Thread ribbon spools onto a dowel or slim tension rod mounted inside a drawer, across a small bin, or between two hooks. Spools spin freely, ribbon pulls out cleanly, and the tangled ribbon nest becomes extinct. Sort by color and you’ll never buy a duplicate spool again.
8. Keep one supply box for tools
Scissors, tape (two rolls — one always escapes), pens, a ruler, and a gift wrap cutter live in one shoebox-size container, always. When wrapping starts, you carry one box, not five trips. Hard cases protect everything best; a small craft caddy with a handle runs about $8–12.
9. Park small bits in clear pockets
Gift tags, bows, twine, and embellishments disappear into drawers because they’re tiny. A hanging shoe organizer’s clear pockets — on the same closet door as idea #4 — keeps every small thing visible and sorted. No pockets? Small zip bags inside the supply box work the same way.
10. File gift tags and cards flat
Tags and flat cards bend and scatter. Keep them in one envelope, a small accordion file, or a zip pouch inside the supply box, sorted loosely into holiday and everyday. Flat storage keeps them crisp enough to actually use.
Zone 3: Bags, Boxes, and Tissue
11. Store gift bags inside one big bag
Fold every gift bag flat and file them all inside your largest gift bag, sorted roughly by size. Hang the whole thing on a closet hook. One grab gets you the entire collection, and flat bags take up almost no space — bulky stuffed bags are the actual space thief.
12. Keep tissue paper flat (or hanging)
Tissue paper wrinkles if it’s wadded, and wadded is its default state. Smooth used sheets, fold them once, and store flat in a drawer or the under-bed box. Heavy tissue users swear by hanging sheets from skirt hangers — one hanger per color — which keeps every sheet visible and wrinkle-free.
13. Nest boxes and store them inside the largest
Gift boxes and shirt boxes nest like Russian dolls. Assemble the set, nest them, and store inside the biggest box in your wrap zone. Broken-down flat boxes slide behind the rolls bin. Either way, boxes should never be stored as a loose, lidless pile.
Zone 4: Systems That Keep It Organized
14. Split holiday from everyday — two homes, clearly labeled
One bin (or bag) for Christmas and winter holidays, one for birthdays and everything else. Label both. In June you’ll grab the birthday bin without excavating a single snowflake, and in December the holiday bin comes out whole, like a seasonal kit — the same logic behind good Christmas organization.
15. Do a 15-minute post-holiday reset
The week after the holidays, spend 15 minutes: salvage good bags and tissue, toss torn scraps, note what’s nearly gone (tape, neutral paper, tags) on your shopping list, and put everything back in its home. Next December starts organized instead of archaeological.
16. Shop your stash before you buy
Because everything now lives in one visible place, check it before buying anything new. Most households find they’re stocked for a full season once they can actually see their supplies — the average wrap stash holds more duplicates than anyone expects.
17. Store it where you wrap
The elegant system in the far garage loses to the simple bin in the room where you wrap. If you wrap at the dining table, a closet or cabinet nearby beats a perfect station two floors away. Convenience is what makes a system survive December. Pick the home you will actually walk to with your arms full of gifts — that is the right one, even if it turns out to be a single bin behind the couch.
Quick-Start Plan: If You Only Do 5 Things
- Gather every supply into one pile and one home (the rule above)
- Stand rolls upright in a tall bin or under-bed box (#1, #2)
- Make one supply box for scissors, tape, and pens (#8)
- File all gift bags flat inside one big bag (#11)
- Split and label holiday vs. everyday (#14)
That’s a complete system for under $20 — and most households already own every container needed.
Save this for later
Pin this image to your Pinterest board so it’s there when you need it.
Gift Wrap Storage Ideas FAQ
What is the best way to store wrapping paper rolls?
Standing upright in a tall bin, basket, or garment bag keeps rolls uncrushed and visible. For hidden storage, a long under-bed box (36 inches or more) fits standard rolls lying flat and protects them from dust.
How do you store gift wrap in a small apartment?
Use vertical and hidden spaces: an over-the-door organizer, a garment bag on a closet rod, or an under-bed box. All three hold a full supply collection in space that was doing nothing.
How do you keep ribbon from tangling?
Thread spools onto a dowel or tension rod so they spin and dispense cleanly, and store loose ribbon ends pinned or taped to their spool. Contained in one bin by color, ribbon stops forming nests.
Where should I store gift wrapping supplies?
In one place, as close as possible to where you wrap. A nearby closet beats a distant perfect station — convenience is what keeps the system working during the busiest wrapping weeks.
How do I stop buying wrapping supplies I already own?
Keep everything in one visible home and check it before shopping. Visible inventory ends duplicate buying — most people find a full season’s worth of supplies once everything is gathered in one spot.
Make Wrapping Season the Easy Part
Setting up for the holidays? Grab our free printables — printable holiday checklists, gift trackers, and routines that pair with your new wrap station and keep the whole season on rails.
Author note: This is a living list — we update it as we test new products and layouts. Bookmark it and check back.
Pingback: 12 Costume Storage Ideas for Kids & Adults