
This after Christmas clean up checklist gets your home from wrapping-paper chaos back to calm in one focused day. Work in this order: clear the trash and recycling first, deal with the food, take down and pack the decor, handle the tree and its needles, sort gifts and returns, then finish with a quick room-by-room reset. Below you’ll find each step in detail, a printable-style checklist for every room, and a realistic 1-day schedule you can start on December 26.
⏱️ Short on time?
Grab our FREE printable checklists — the exact routines behind every calm home on this blog:
📋 Room-by-Room Checklist (PDF)📅 Weekly Reset Checklist (PDF)
Part of our Cleaning Routines, Checklists & Natural Cleaning Guide, which brings every related post together in one place.
The goal isn’t a spotless deep clean. It’s a reset: surfaces cleared, decor safely stored, leftovers under control, and every new gift with a home. Do that, and January starts light instead of buried.
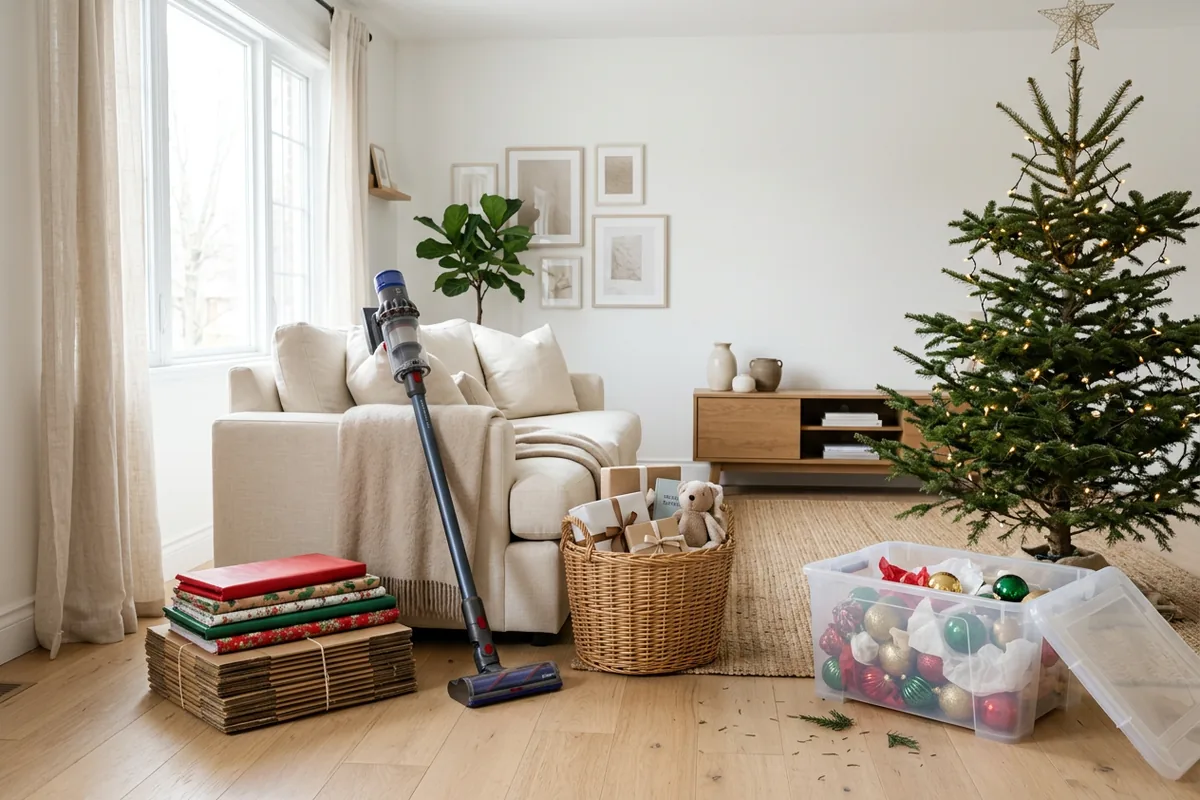
After Christmas Clean Up Checklist: What You’ll Learn
- The best order to clean up after Christmas (so you never do a job twice)
- How to handle wrapping paper, boxes and holiday trash
- Safe rules for Christmas leftovers and a fridge reset
- How to take down decor and clean up pine needles
- A room-by-room after Christmas cleaning checklist
- A 1-day post-Christmas clean up plan, hour by hour
Why the Order Matters
Most post-holiday cleanups stall because people start in the wrong place. Vacuum before the tree comes down and you’ll vacuum twice. Organize the closet before the gifts are sorted and you’ll reorganize it next week. The order below moves from the jobs that create mess (trash, decor, the tree) to the jobs that remove it (floors, surfaces, a final reset), so every task sticks.
Before you begin, gather your supplies in one caddy: heavy-duty trash bags, a recycling bag, a box cutter, packing tape, labels and a marker, microfiber cloths, an all-purpose spray, a lint roller, a stiff broom, and a vacuum with a hose attachment. Set a timer for each block so it feels like a sprint.
Step 1: Clear Wrapping Paper, Boxes and Holiday Trash
Start here, ideally on Christmas night or first thing on the 26th. Walk every room with two bags: one for trash and one for recycling. Grab torn paper, ribbon scraps, tags, twist ties and packaging inserts as you go.
- Do the scrunch test. Plain wrapping paper that stays balled up when you scrunch it is usually recyclable. Paper that springs back, or has foil, glitter or a plastic coating, usually is not. Check your local program, since rules vary by town.
- Flatten every box. Break down shipping boxes with a box cutter and stack them by the door. Most curbside bins fill fast in late December, so tie extra cardboard in a bundle beside the bin if your hauler allows it.
- Save the good stuff. Keep intact gift bags, tissue, bows and sturdy boxes in one container for next year. Be ruthless: keep only what fits in that one bin.
- Ribbon and bows go in the trash, not recycling. They tangle sorting machines.
- Check for small parts and batteries before anything goes out. Kids’ toy screws, button batteries and gift cards hide in wrapping.
Once the reusables are rounded up, store them properly so they don’t creep back into the closet. Our gift wrap storage ideas show how to keep rolls, bags and tissue tidy in a small space.
Step 2: Deal With Christmas Leftovers and Reset the Fridge
Food is time-sensitive, so it comes second. The USDA’s guidance is simple: refrigerate leftovers within 2 hours of cooking, eat them within 3 to 4 days, or freeze them for 3 to 4 months. Anything perishable that sat out on the buffet longer than 2 hours should be thrown away.
- Pull everything out of one shelf at a time. Toss anything past its window, spoiled produce, and the half-used dips nobody touched.
- Portion and freeze. Slice ham and turkey off the bone, pack meals in shallow containers, and label each with the item and date. Freeze what you won’t eat by December 28.
- Wipe shelves and drawers with warm, soapy water and dry them before restocking.
- Set up a “eat first” bin at eye level for leftovers and opened cheese so they actually get eaten.
- Consolidate the pantry: combine open bags of chips and nuts, and move unopened baking supplies to the back for next year’s baking.
For a full shelf-by-shelf method, follow our refrigerator cleanout guide, then use these freezer organization ideas so frozen leftovers don’t get lost behind the ice cream.
Step 3: Take Down Christmas Decor the Smart Way
Whether you take decor down on the 26th or wait until New Year’s Day, the method is the same: work one room at a time and pack by category, not by room. All ornaments go together, all lights together, all table linens together. It makes next year’s decorating dramatically faster.
Lights
Unplug and test strands before packing. Toss any with frayed wires, cracked sockets or dead sections, since a strand that fails now will still fail in December. Wrap working strands around a piece of cardboard or a cord reel so they never tangle. See how to store Christmas lights for six tangle-free methods.
Ornaments
Remove hooks first and store them in a zip bag. Wrap glass pieces in acid-free tissue, pack heavy on the bottom and light on top, and label each box on two sides. See exactly how in how to organize Christmas ornaments.
Everything else
- Garland and wreaths: coil garland loosely in a bin; hang wreaths in a bag on a closet hook so they keep their shape.
- Table linens: wash and fully dry holiday tablecloths and napkins before storing. Treat wax and wine stains now, not next November.
- Candles: store away from heat. Attics can soften them into odd shapes.
- Inflatables and outdoor decor: let them dry completely before packing to prevent mildew.
- Declutter as you pack. Anything broken, faded or unused this year goes in a donate or trash pile.
For where all those bins should live, our Christmas organization ideas cover labeled storage, shelving and the decor inventory that saves you from buying duplicates.
Step 4: Take Down the Tree and Clean Up Pine Needles
Needles are the single messiest part of after Christmas cleaning. A real tree can shed thousands of them on the way out the door, so prepare first.
- Lay down a tree bag or old sheet around the base before you move anything. Remove all decor, then wrap the tree from the bottom up and carry it out trunk first.
- Empty the stand with a turkey baster and an old towel before lifting it, or you’ll spill sappy water across the floor.
- Sweep first, vacuum second. Use a stiff broom to gather needles into a pile, then pick up the pile with a dustpan. Needles can clog a vacuum’s brush roll and hose, so vacuum only the stragglers, with the hose attachment.
- For carpet, drag a rubber broom or a squeegee across the pile to pull embedded needles to the surface, then vacuum.
- Lift sap from hard floors with a little rubbing alcohol on a cloth, testing in a hidden spot first, then wipe with plain water.
- Recycle the tree. Many U.S. cities offer curbside tree pickup or drop-off mulching in early January. Remove every ornament, hook, tinsel strand and the stand first.
Artificial tree? Fluff and wipe dusty sections, then store it in a tree bag or its original box in a dry closet, not a damp basement or hot attic.
Step 5: Sort Gifts, Returns and New Stuff
New gifts are the hidden clutter of January. Give each one a home within a week or it ends up on the dining table until spring.
- Make a returns station: one bag or bin by the front door for returns and exchanges, with receipts, gift receipts and packing slips in an envelope taped inside. Many retailers extend their return windows for holiday purchases, but check each store’s policy and write the deadline on the item.
- One in, one out: for every new sweater, toy or gadget, donate one old one. Put a donation box in each bedroom for the week.
- Collect gift cards in one envelope or a phone note with the balance, so none expire forgotten.
- Write thank-you notes while you still remember who gave what. Keep a quick list on your phone as gifts are opened.
Kids’ toys are the biggest challenge. Our toy organization ideas for small spaces help you make room fast, and if you followed our guide to decluttering before Christmas, you’ve already got a head start.
Room-by-Room After Christmas Cleaning Checklist
Once the big jobs are done, walk through each room with this list. Most rooms take 15 to 30 minutes.
Kitchen
- Run and empty the dishwasher; hand-wash and dry serving platters, then store them
- Wipe counters, the backsplash and cabinet fronts, especially handles
- Clean the stovetop and microwave of holiday splatters
- Wipe the fridge handle and exterior
- Take out trash and recycling; wipe the inside of the bin
- Sweep and mop the floor
Living room
- Remove the last stray decor, hooks and tinsel
- Wipe the dining table and check for wax drips
- Return borrowed chairs and furniture to their usual spots
- Vacuum sofa cushions and under them (gift tags and pine needles hide there)
- Lint-roll throws and pillows; wash blankets guests used
- Dust shelves and the TV stand where decor sat
- Vacuum floors and rugs, including under where the tree stood
Guest room and bathrooms
- Strip and wash guest sheets and towels
- Restock toilet paper, soap and hand towels
- Clean the toilet, sink and mirror after a busy week
- Empty bathroom trash cans
Entryway
- Clear boot trays and wipe up salt and slush marks
- Return guest hangers and clear the coat hooks
- Shake out or wash the doormat
The 1-Day After Christmas Clean Up Plan
Short on time? Here’s how to fit the whole checklist into one day. Two adults working together can usually finish in 6 to 7 hours, including a lunch break.
| Time | Task | Goal |
|---|---|---|
| 9:00 to 9:45 | Trash, recycling and wrapping paper sweep | Every room clear of paper and boxes |
| 9:45 to 10:30 | Leftovers and fridge reset | Food portioned, labeled and frozen |
| 10:30 to 12:30 | Take down and pack decor by category | All bins labeled and closed |
| 12:30 to 1:15 | Lunch (eat the leftovers) | Rest and refuel |
| 1:15 to 2:15 | Tree down, needles swept, stand emptied | Tree out, floor needle-free |
| 2:15 to 3:00 | Gifts, returns station, donation box | Every gift has a home |
| 3:00 to 4:00 | Room-by-room checklist | Surfaces wiped, floors vacuumed |
| 4:00 to 4:15 | Carry bins to storage, take out trash | Done! |
Want to spread it out? Do the trash and food on December 26, the decor and tree on New Year’s Day, and the room reset the following weekend.
After the Cleanup: Roll Into a Fresh Start
Once the holiday mess is gone, the house feels bigger, and that’s the perfect momentum for January. Our New Year home reset checklist picks up right where this list ends, with a room-by-room declutter and simple weekly habits. And when next season comes around, start with our holiday cleaning checklist to get guest-ready.
Keep going: before the artificial tree goes back in its bag, see how to clean a pre-lit Christmas tree so it comes out fresh next year.
Keep going: once the holidays are packed away, a weekly Sunday reset checklist keeps the house from piling up again.
Related guides
Save this for later
Pin this image to your Pinterest board so it’s there when you need it.
 Save to Pinterest
Good to know: The USDA Food Safety and Inspection Service’s leftovers and food safety guide recommends refrigerating leftovers within 2 hours and using them within 3 to 4 days, or freezing them for 3 to 4 months.
Sources & safety notes
The safety and care points in this guide are based on these public sources. Your appliance manual and product labels always come first, so follow them where they differ from general advice.
- Leftovers and Food Safety (USDA Food Safety and Inspection Service): refrigerate leftovers within 2 hours, use them within 3 to 4 days or freeze them for 3 to 4 months, and throw out perishables left out longer than 2 hours.
- Refrigeration & Food Safety (USDA Food Safety and Inspection Service): explains how to keep the refrigerator clean and remove odors after a big holiday meal.
- Dangers of Mixing Bleach with Cleaners (Washington State Department of Health): if you disinfect with bleach during the clean-up, never mix it with ammonia, vinegar or other cleaners.
Frequently Asked Questions
What should I clean first after Christmas?
Start with trash, recycling and wrapping paper, then handle leftovers since food is time-sensitive. After that, take down and pack decor, remove the tree and sweep up needles, sort gifts and returns, and finish with a room-by-room wipe-down and vacuum.
When should you take down Christmas decorations?
There is no fixed rule. Many families take decorations down between December 26 and New Year’s Day, and some wait until Epiphany on January 6. A real tree should come down once it drops lots of needles or dries out, because dry trees are a fire risk.
How long are Christmas leftovers good for?
The USDA says leftovers keep 3 to 4 days in the refrigerator or 3 to 4 months in the freezer. Refrigerate cooked food within 2 hours, and throw away perishable food that sat out at room temperature for longer than 2 hours.
What is the best way to clean up pine needles?
Sweep needles into a pile with a stiff broom and pick them up with a dustpan before vacuuming, since needles can clog a vacuum. On carpet, drag a rubber broom across the pile to lift embedded needles, then vacuum with the hose attachment.
Is Christmas wrapping paper recyclable?
Plain paper often is, but foil, glitter and plastic-coated paper usually is not. Try the scrunch test: if the paper stays balled up, it is likely recyclable. Ribbons and bows go in the trash, and local rules vary, so check your town’s recycling guidelines.
With this after Christmas clean up checklist, the day after the holidays becomes a calm, one-day reset: clear the trash, handle the food, pack the decor by category, sweep the needles, give every gift a home and finish room by room. Pin it now so it’s ready on December 26.