
Every fridge reaches a point where opening it feels like an archaeological dig. Something smells faintly wrong. There’s a jar in the back with no label and no memory attached. The shelves are sticky in places you don’t want to think about. Here’s how to clean out your refrigerator in about an hour, shelf by shelf.
⏱️ Short on time?
Grab our FREE printable checklists — the exact routines behind every calm home on this blog:
📋 Room-by-Room Checklist (PDF)📅 Weekly Reset Checklist (PDF)
Part of our Kitchen Cleaning & Organization Guide, which brings every related post together in one place.
A full fridge cleanout takes about an hour, and the payoff is immediate: food you can actually see (so you stop buying duplicates), no more mystery smells, and shelves clean enough to restock with confidence. Here’s the exact process, step by step.
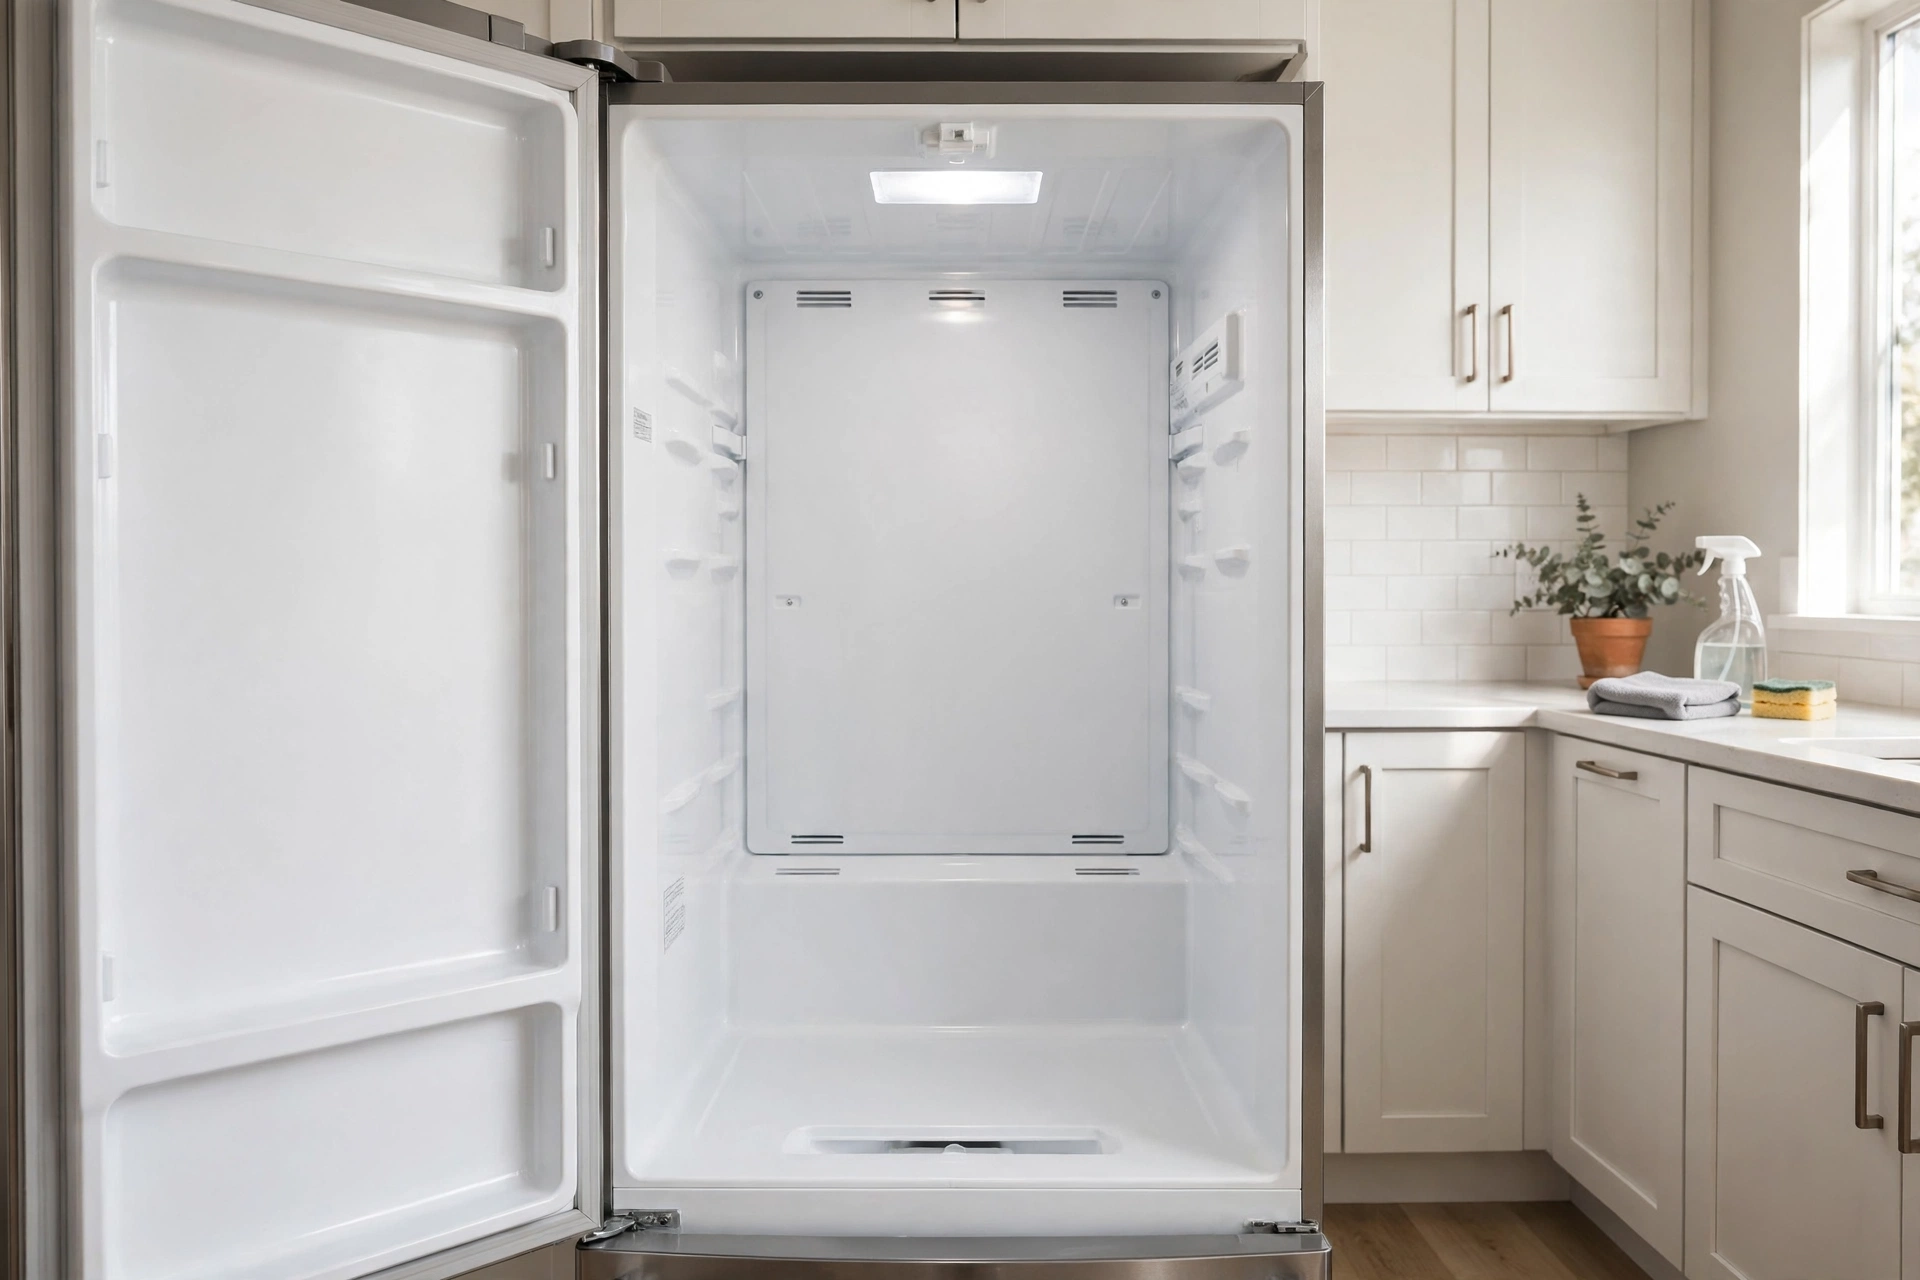
How to Clean Out Your Refrigerator: What You’ll Learn
- The 7-step cleanout process professionals use
- What to toss vs. keep (the honest expiration guide)
- How to clean shelves, drawers, and gaskets properly
- The zone restocking system that keeps it organized
- How often to do a full vs. mini cleanout
Before You Start
Time it right
Do this before your weekly grocery shop, when the fridge is naturally emptiest. Less to move means faster work. Grab two cooler bags or insulated totes for perishables — milk, meat, and dairy need to stay cold while you work. An hour at room temperature is fine; two is not.
Gather supplies
All-purpose cleaner or a 50/50 water-and-white-vinegar spray, dish soap, baking soda, microfiber cloths, an old toothbrush for gasket grooves and crevices, trash bags, and a “donate/give away” bag for unopened extras. That’s it — no specialty products needed.
The 7-Step Cleanout
Step 1: Empty it completely
Take everything out — every shelf, every door bin, every drawer. Yes, all of it onto the counter. You cannot clean around food, and you need the empty box to see what you’re working with. Put perishables straight into the cooler bags.
Step 2: Toss with confidence
Go item by item. Toss anything expired, anything with mold, leftovers older than 4 days, opened condiments older than their prime (ketchup 6 months, mayo 2 months once opened, salad dressing 3–6 months), and anything you can’t identify. The “when did I open this?” test: if you can’t remember, it’s done. Be ruthless — most fridges lose a quarter of their contents here, and that’s the point.
Step 3: Remove shelves and drawers
Pull out every removable shelf, bin, and drawer. They clean 10x easier in the sink than in the fridge. Check your manual if something sticks — most slide out with a lift-and-pull motion. This is also when you discover the spill that’s been living under the crisper drawer since March.
Step 4: Wash shelves and drawers
Wash everything in hot soapy water in the sink (or bathtub for big shelves). For stuck-on grime, sprinkle baking soda, let it sit 10 minutes, then scrub. Rinse and air-dry on towels. Glass shelves can go straight from fridge to sink — just avoid extreme temperature shock with boiling water.
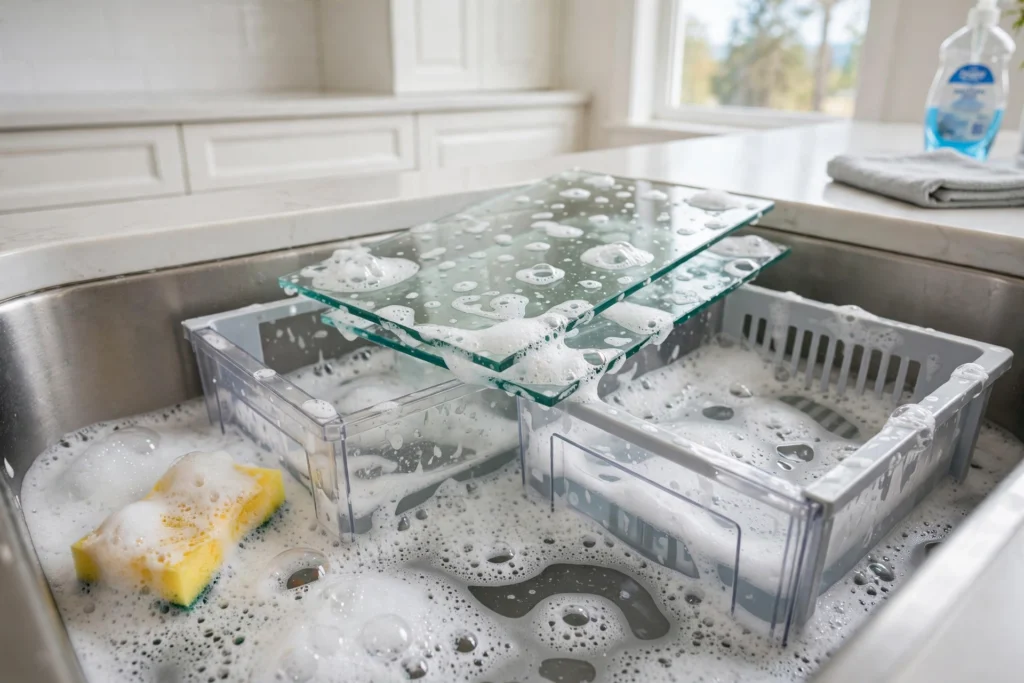
Step 5: Wipe down the empty fridge
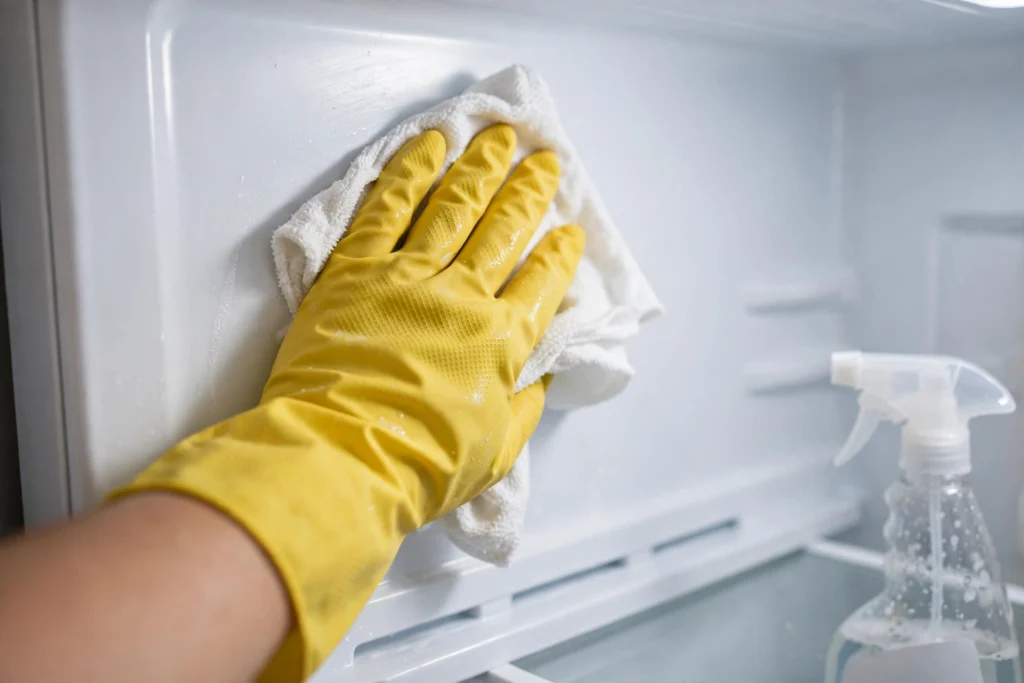
With everything out, wipe the interior walls, ceiling, and floor with your vinegar spray or all-purpose cleaner. Get into the corners and the grooves where shelves sit. Scrub the door gaskets with the old toothbrush and baking soda paste — grime here breaks the seal and wastes energy. Dry everything with a clean cloth; moisture left behind becomes tomorrow’s mildew.
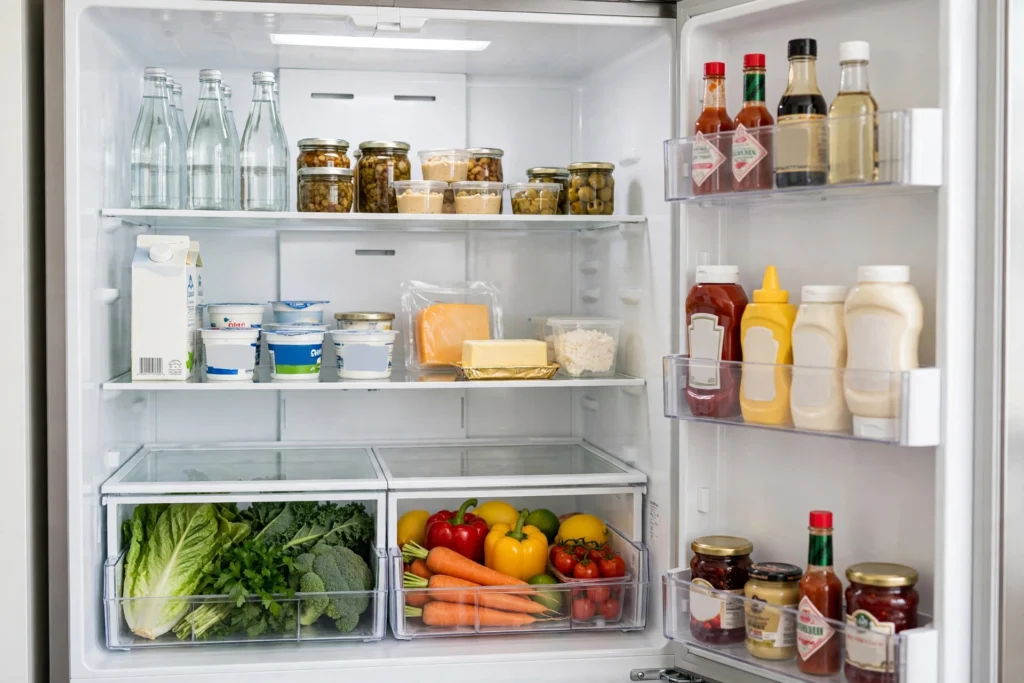
Step 6: Replace shelves and restock by zone
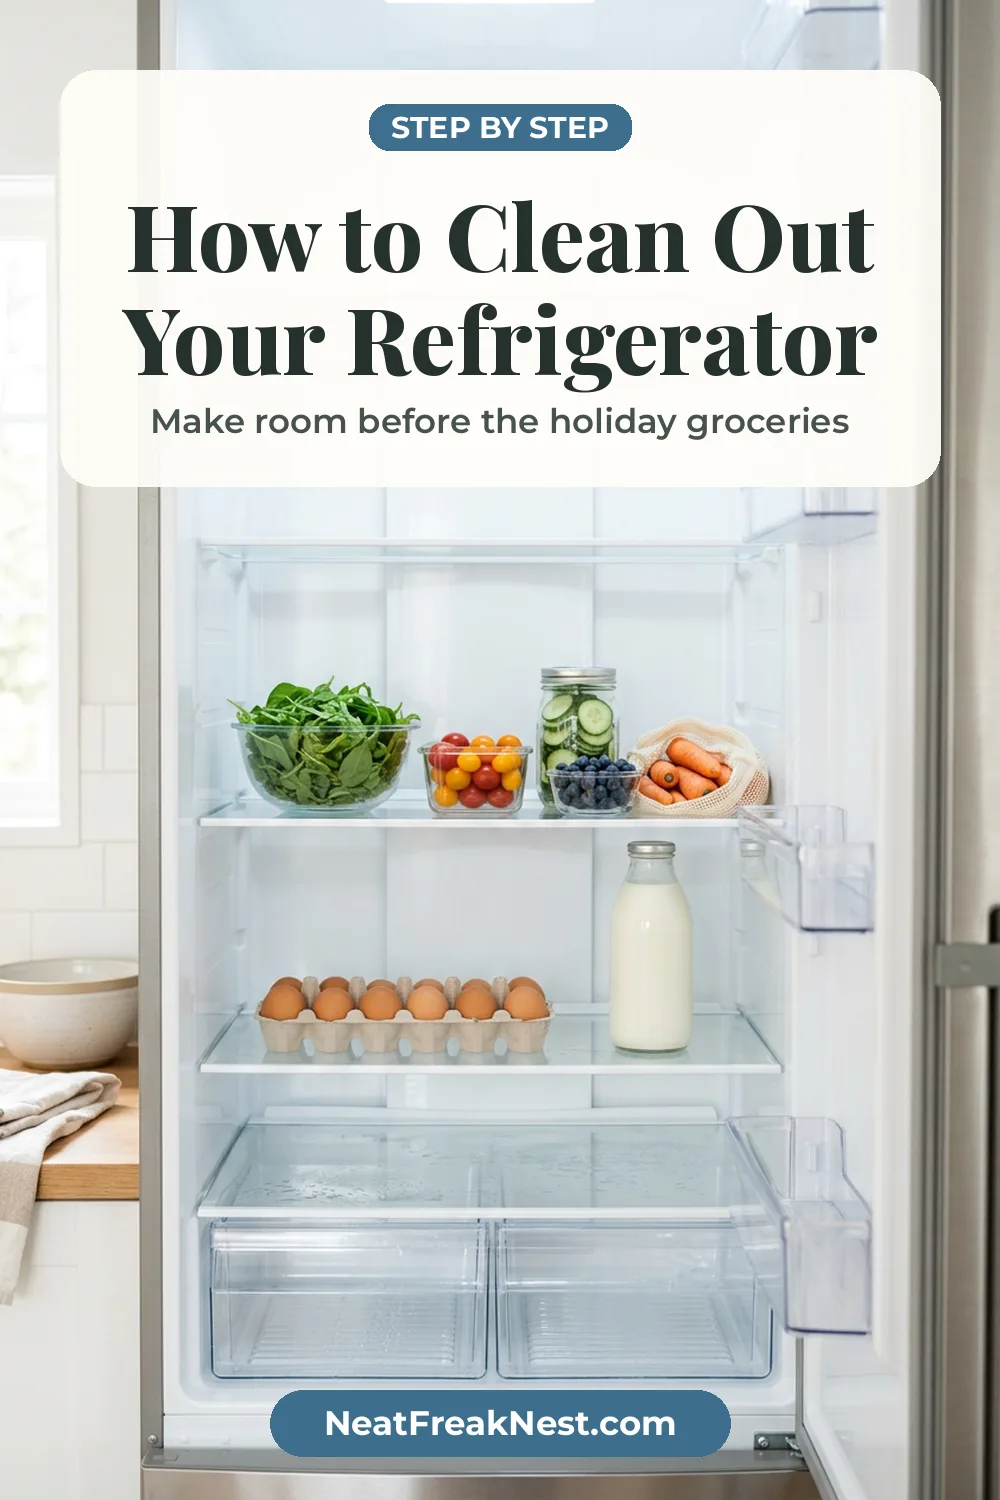
Put clean shelves back, then restock using zones — this is what keeps it organized after the cleanout:
- Top shelf: leftovers, drinks, ready-to-eat foods (most consistent temperature)
- Middle shelves: dairy, eggs, and daily items at eye level
- Bottom shelf: raw meat and fish (coldest spot, and drips can’t contaminate below)
- Crisper drawers: fruits in one (low humidity), vegetables in the other (high humidity)
- Door bins: condiments only — the door is the warmest zone, so no milk or eggs here despite what the built-in egg tray suggests
Face labels forward as you restock. It takes an extra minute and saves five every time someone looks for something.
Step 7: Deodorize and finish
Place an open box of baking soda on a middle shelf (replace every 3 months — write the date on the box). Wipe the exterior including handles, and vacuum the condenser coils behind or below the fridge if you can reach them — dusty coils make the fridge work harder and die younger. Take a photo of your clean, zoned fridge. You’ll want the reference.
Your Refrigerator Cleanout Checklist
Prep
- Scheduled before grocery shopping (fridge at emptiest)
- Cooler bags ready for perishables
- Supplies gathered (spray, dish soap, baking soda, cloths, toothbrush, trash bags)
Empty & Toss
- Fridge completely emptied
- Perishables in cooler bags
- Expired/mystery items tossed (the 25% purge)
- Condiment dates checked
Clean
- Shelves and drawers removed
- Shelves/drawers washed in hot soapy water, air-dried
- Interior walls, ceiling, floor wiped
- Door gaskets scrubbed with toothbrush + baking soda
- Everything dried (no moisture left behind)
Restock
- Shelves replaced
- Zoned restock: top (ready-to-eat), middle (dairy), bottom (raw meat), crispers (produce), door (condiments only)
- Labels facing forward
- Baking soda box placed and dated
- Exterior wiped, coils vacuumed if accessible
- Photo taken for reference
Maintain
- Weekly 5-minute toss (one shelf per week, rotating)
- Full cleanout every 3–4 months
How to Get Rid of Lingering Fridge Odors
If a smell hangs around after the cleanout, work through these fixes in order:
- Find the source. Check under the crisper drawers, the drip tray and the door gasket folds. Most stubborn smells come from one hidden spill.
- Wash with baking soda. Wipe the interior with 2 tablespoons of baking soda dissolved in 1 quart of warm water, then dry it completely.
- Absorb what is left. Leave an open box of baking soda, a bowl of activated charcoal or dry coffee grounds on a middle shelf for a day or two.
- Check the temperature. Keep the fridge at 40°F (4°C) or below and the freezer at 0°F (-18°C). A fridge that runs warm spoils food faster, and spoiling food is the most common cause of smells.
Where Food Should Go After a Cleanout
- Door: condiments, juice and drinks, which cope best with temperature swings.
- Upper shelves: leftovers, drinks and ready-to-eat foods.
- Lower shelves: raw meat and fish on a tray or in a bin, so drips can’t reach other food.
- Crisper drawers: one for vegetables (high humidity) and one for fruit (low humidity).
Restock with the oldest items at the front, and do a five-minute mini cleanout before every grocery shop to keep it this way.
Keep going: while the fridge is empty and airing out, run a deep clean on the dishwasher too with how to clean a dishwasher with vinegar and baking soda.
Related guides
Save this for later
Pin this image to your Pinterest board so it’s there when you need it.
 Save to Pinterest
Good to know: Not sure whether something is still safe? The FoodSafety.gov cold food storage chart lists fridge and freezer times for leftovers, meat, eggs and more.
Sources & safety notes
The safety and care points in this guide are based on these public sources. Your appliance manual and product labels always come first, so follow them where they differ from general advice.
- Refrigeration & Food Safety (USDA Food Safety and Inspection Service): covers keeping the refrigerator clean, removing odors and how long refrigerated foods keep; cooked leftovers are listed at 3 to 4 days.
- Freezing and Food Safety (USDA Food Safety and Inspection Service): frozen food kept at 0°F stays safe indefinitely; freezer storage times are about quality, not safety.
- Dangers of Mixing Bleach with Cleaners (Washington State Department of Health): if you use a bleach-based cleaner on fridge shelves, never combine it with vinegar or ammonia sprays.
FAQ
How often should I clean out my refrigerator? A full empty-and-scrub cleanout every 3–4 months, plus a 5-minute weekly toss of one rotating shelf (expired leftovers, wilted produce). The weekly mini-clean prevents the quarterly cleanout from being a horror show.
What gets rid of bad fridge smells? Remove the source first (it’s usually forgotten leftovers or spoiled produce in a drawer). Then wipe with baking soda paste, and keep an open, dated box of baking soda inside. For stubborn odors, wipe shelves with vanilla extract on a cloth — it neutralizes and leaves a pleasant scent.
Should milk and eggs go in the door? No — the door is the warmest part of the fridge with the most temperature fluctuation. Keep milk and eggs on a middle shelf where it’s coldest and most stable. The door is for condiments, which handle temperature swings fine.
One hour, seven steps, and your fridge goes from archaeological dig to organized zones. Future grocery trips get faster because you can actually see what you need.
Free printables: grab our Room-by-Room Cleaning Checklist and Weekly Reset Planner — schedule your quarterly fridge cleanout right in the planner so it never gets forgotten.
Keep going: now that it’s clean, make it beautiful — Fridge Organization Aesthetic shows the bin-and-zone system that keeps it this way. For the whole kitchen to match, 17 Small Kitchen Organization Ideas applies the same logic everywhere. And for chemical-free cleaning on food surfaces, 12 Natural Cleaning Recipes is all you need.
Pingback: Thanksgiving Prep Checklist: A Stress-Free Holiday Timeline - Neat Freak Nest
Pingback: Fall Cleaning Checklist: Reset Your Home for Cozy Season - Neat Freak Nest
Pingback: Holiday Baking Prep: Organize Your Kitchen Like a Pro - Neat Freak Nest
Pingback: 17 Freezer Organization Ideas That End the Frozen Chaos