
There’s a special kind of morning chaos that happens around the coffee maker: the filters are in one cabinet, the sugar’s behind the cereal, your favorite mug is who-knows-where, and somehow there are three half-empty bags of beans. A dedicated coffee station fixes all of it. When everything you need for your morning cup lives in one tidy zone, brewing coffee takes two minutes instead of ten — and the corner looks good doing it. These 17 coffee station organization ideas work for countertops, carts, and tiny kitchens alike, and most cost under $25 to set up.
⏱️ Short on time?
Grab our FREE printable checklists — the exact routines behind every calm home on this blog:
📋 Room-by-Room Checklist (PDF)📅 Weekly Reset Checklist (PDF)
Part of our Kitchen Cleaning & Organization Guide, which brings every related post together in one place.
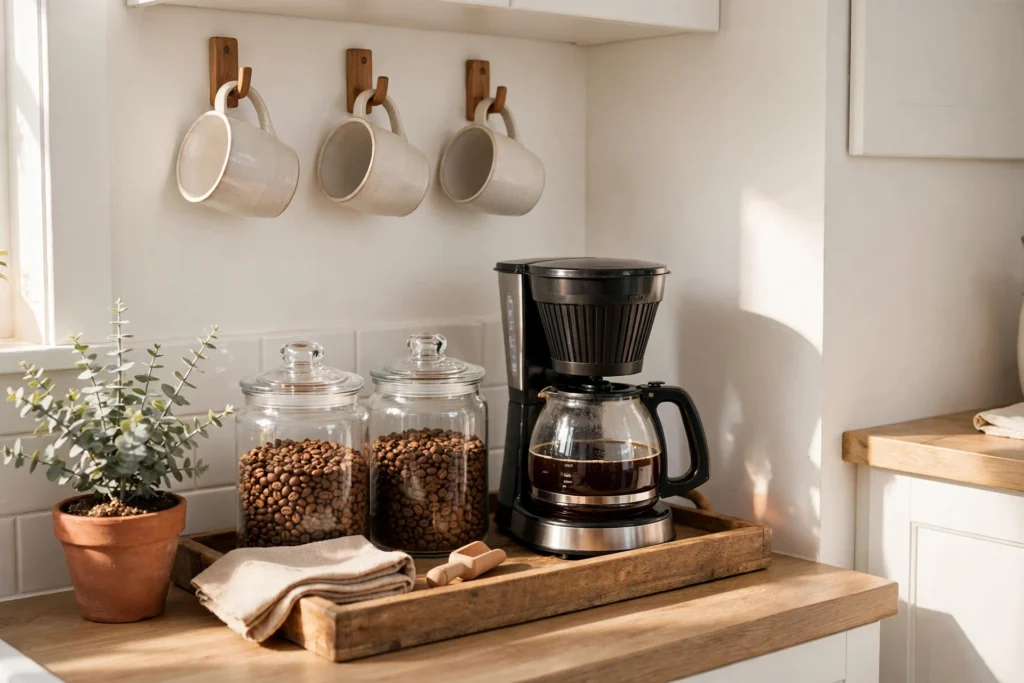
What a Coffee Station Actually Needs
Before the pretty part, nail the essentials. A functional station needs exactly seven things: your brewer, coffee (beans, grounds, or pods), filters if your brewer uses them, mugs, sweeteners, stirrers/spoons, and a small trash solution for pods or grounds. Everything else — syrups, frothers, pretty signs — is decoration. Start with the seven, get the workflow smooth, then style it.
Placement matters as much as gear. The best spot is near a water source and an outlet, with enough counter depth for the brewer plus a tray. Dead corners, the end of a counter run, a pantry shelf, or a rolling cart all work. If your kitchen is tight, our small kitchen organization ideas pair perfectly with the small-space setups below.
17 Coffee Station Organization Ideas
Set Up the Zone
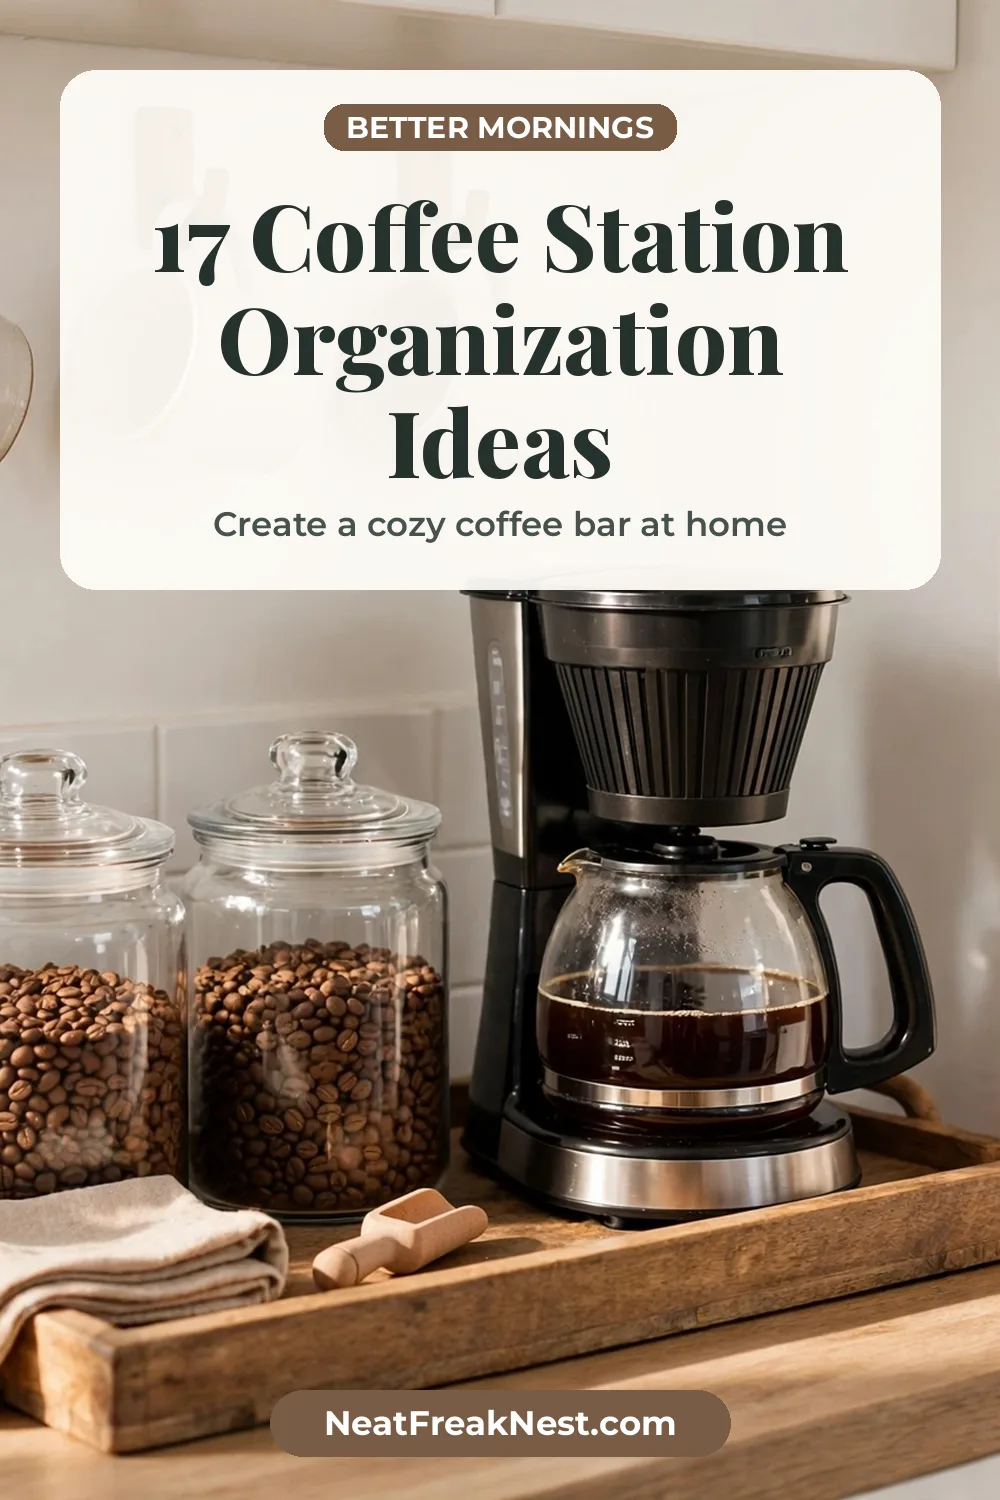
1. Corral everything on one tray. A large wooden or metal tray ($15–$25) is the single highest-impact move. It defines the station’s boundaries, catches drips and grounds, and lets you lift the whole setup to wipe the counter in seconds. If it doesn’t fit on the tray, it doesn’t belong at the station.
2. Put the brewer near the outlet and the water. Every extra step between water source, brewer, and mug adds morning friction. Arrange the zone in brewing order — water side, brewer, then mugs and sweeteners — so your half-awake self moves in one smooth line.
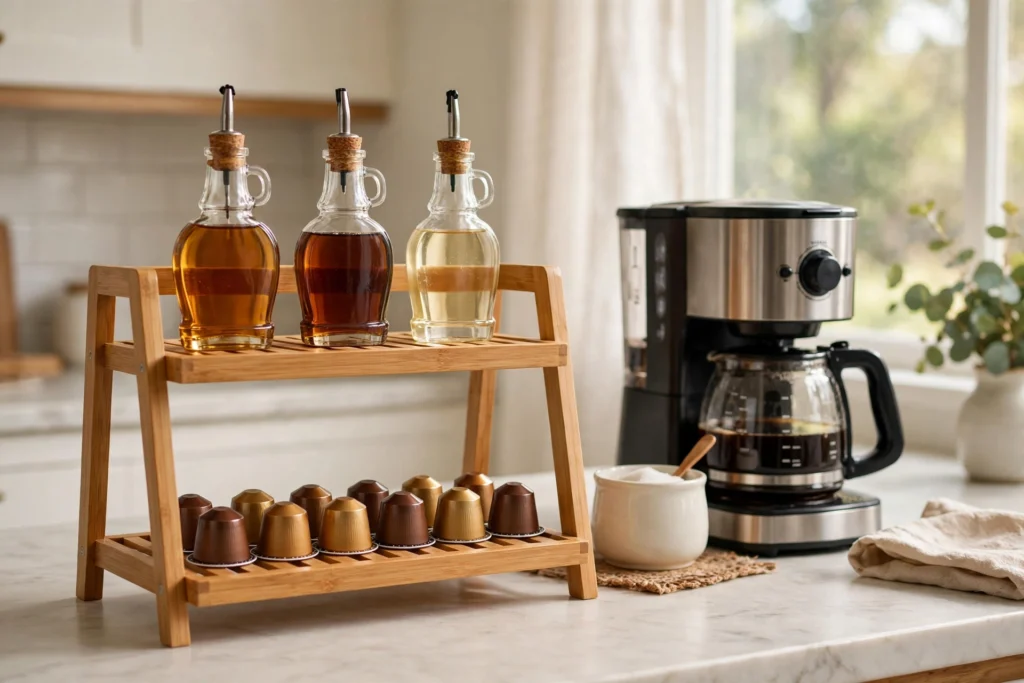
3. Use a tiered shelf to double vertical space. A two-tier bamboo shelf or wire riser ($12–$18) turns one layer of counter into two. Brewer and daily mugs on the bottom, canisters and syrups up top. This is the trick that makes a 24-inch counter section feel spacious.
4. Dedicate one drawer as the coffee drawer. If counter space is precious, move pods, filters, tea bags, and sweetener packets into the nearest drawer with an adjustable divider insert. The brewer stays out; everything else hides one pull away. Clean counters, full function.
Store Beans, Pods, and Grounds
5. Decant coffee into airtight glass canisters. Clear canisters with bamboo lids ($10–$15 for a set) keep beans and grounds fresh, look beautiful, and — practically — show you at a glance when you’re running low. No more discovering an empty bag on a Monday morning.
6. Sort pods vertically in a drawer insert or carousel. Pods stacked flat become an archaeological dig. A slim drawer insert, a spinning carousel, or even a mug tree repurposed as a pod holder keeps flavors visible and grabbable. Sort by household member if everyone drinks something different.
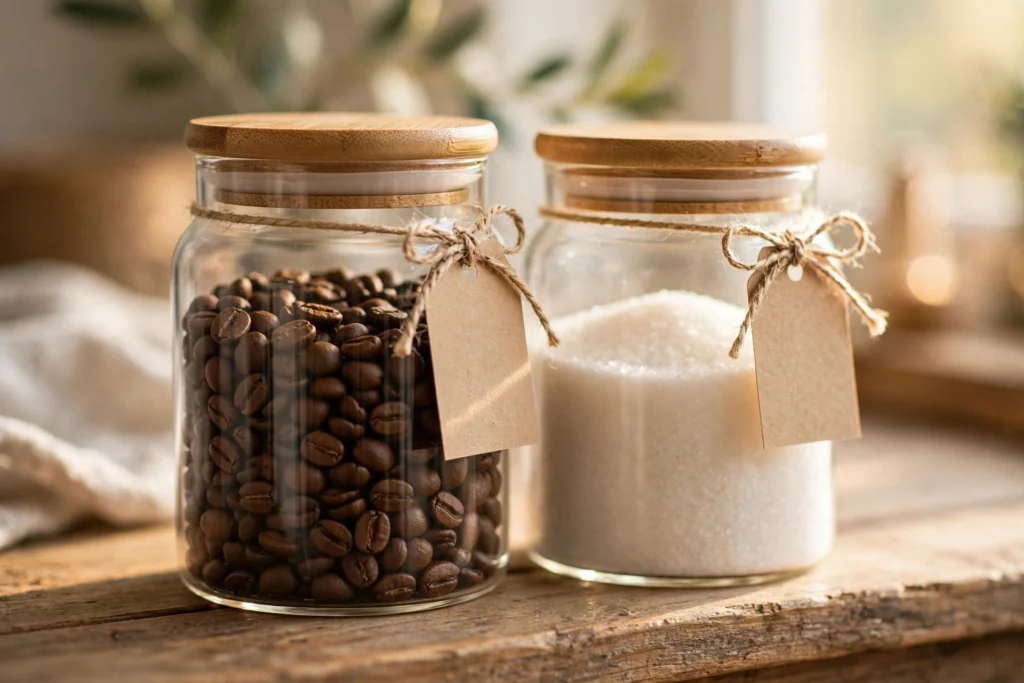
7. Label everything with a simple tag system. Masking-tape labels or a $10 label maker for canisters: “Decaf,” “Espresso,” “Sugar,” “Oat creamer.” Labels stop guests from brewing decaf at 7 AM and stop you from grabbing the wrong bag pre-caffeine. They also make the station look intentionally designed.
8. Keep bulk backup out of the station. The 2-pound backup bag and the Costco box of pods live in the pantry, not at the station. Only a week’s supply earns counter space. When the canister runs low, refill from backup — this is the same “one in, one out” logic that keeps a pantry organized instead of overflowing.
Mugs, Sweeteners, and the Little Things
9. Hang mugs on hooks to free the shelf. Wall hooks, an under-cabinet mug rack, or a simple mug tree moves 4–6 mugs off the counter. Hanging also keeps your favorites visible — the chipped freebie mug naturally falls out of rotation when the good ones are on display.
10. Create a sweetener caddy. One small container — a mason jar, a sugar bowl, a divided caddy — holds sugar packets, honey sticks, and stirrers together. Refill it weekly from the pantry stash. Loose packets scattered across the counter are the coffee station’s version of junk-drawer clutter.
11. Give syrups a narrow pull-out home. Syrup bottles vary wildly in height and topple easily. A narrow basket, a small turntable (lazy Susan), or a spice-rack insert keeps them upright, visible, and grabbable. Cap the collection at what fits — six syrups is a coffee shop, not a kitchen.
12. Add a tiny trash solution. A small lidded bin or even a pretty ceramic bowl catches used pods, filter papers, and stir sticks. Without it, spent pods migrate to the counter edge and then to the floor. Empty it when you take out the kitchen trash.
13. Keep a dedicated station cloth. One dark hand towel or a stack of bar rags lives at the station for drips and steam-wand wipe-downs. Dark hides coffee stains; dedicated means you’re never hunting for a towel with wet hands. Toss it in the weekly laundry and grab a fresh one — a stained, crunchy towel ruins the whole look.
Small-Space and Budget Setups
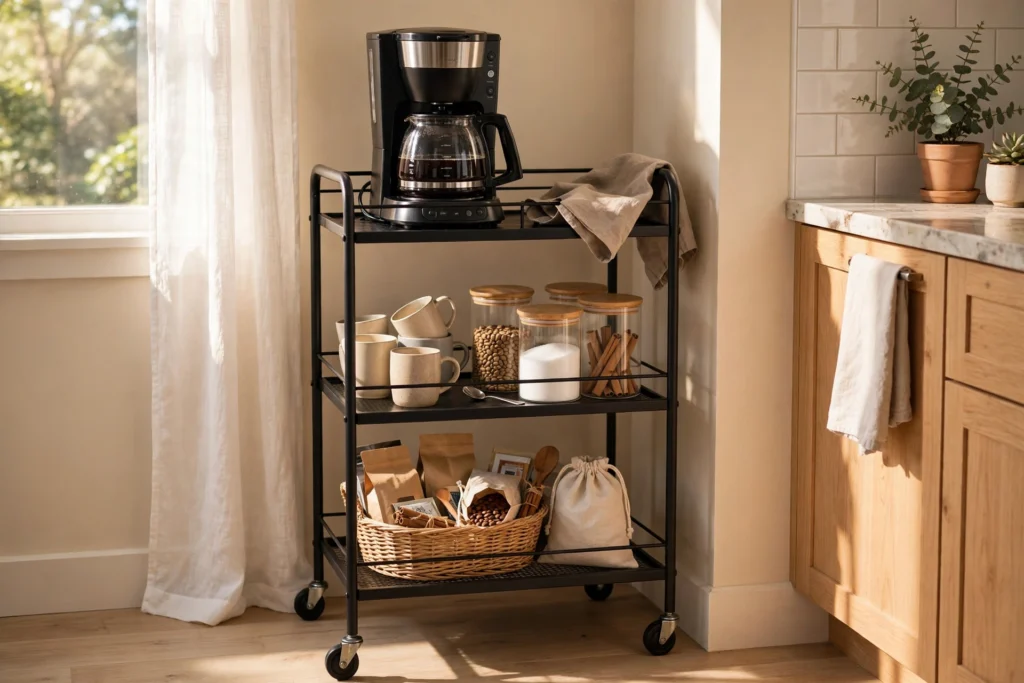
14. Build the station on a rolling cart. A 3-tier rolling cart ($25–$35) is the ultimate small-kitchen or rental-friendly station: brewer on top, mugs and canisters in the middle, backup supplies below. Roll it to the counter to brew, tuck it in a corner after. No drilling, no commitment.
15. Steal a pantry shelf. One cleared pantry shelf with a small tray becomes a hidden coffee station — brewer plugged in inside, doors closed when guests come. It keeps counters completely clear and works brilliantly in galley kitchens. Just confirm ventilation so heat doesn’t build up.
16. Style it on a budget with thrifted pieces. The prettiest stations are often the cheapest: a thrifted wooden tray, mismatched vintage mugs, a $3 basket for pods. Our roundup of Dollar Tree finds that look expensive is full of trays, jars, and hooks that style a station for under $15 total.
17. Add one personal touch — then stop. A small plant, a framed print, a cute sign: one decorative item makes the station feel finished. Two or more start eating the functional space you just organized. The station’s job is great coffee fast; let it do that job beautifully.
What Doesn’t Belong at the Coffee Station
A station stays calm by exclusion as much as organization. Keep these off the tray:
- Backup supplies — the bulk bean bag and the 48-count pod box live in the pantry. The station holds one week, max.
- Appliances you use monthly — the waffle maker and the juicer are not coffee gear, no matter how nicely they fit the aesthetic.
- Unwashed “favorite” mugs — if a mug has been sitting dirty for three days, it’s decoration, not inventory. Wash it or retire it.
- Mail and keys — the station is a brewing zone, not a landing strip. Give those their own home by the door.
Every item that leaves the station makes the remaining items easier to reach — and the whole corner looks twice as styled with half the stuff on it.
The 5-Minute Daily Reset
Coffee stations drift faster than any other kitchen zone because they’re used daily. Build this into your morning: while the coffee brews, toss spent pods, wipe the tray, and put the milk back. Ninety seconds, done before your first sip. Once a week, wipe the canister lids and check supplies — refill the sweetener caddy and note what’s running low. A station that resets itself never needs a weekend overhaul.
Keep going: carry the same clean look into the fridge with these aesthetic fridge organization ideas.
Related guides
Save this for later
Pin this image to your Pinterest board so it’s there when you need it.
 Save to Pinterest
Coffee Station FAQ
How much counter space does a coffee station need?
A comfortable station fits in 24 inches of counter — brewer plus a tray with canisters. With a tiered shelf or wall hooks, you can shrink the footprint to about 18 inches. Under that, switch to the rolling-cart or coffee-drawer setup instead of crowding the counter.
What’s the best way to organize coffee pods?
Vertically, where you can see every flavor: a drawer insert, a spinning carousel, or a wall-mounted pod holder. Avoid deep bins where pods stack — you’ll forget what’s at the bottom and rebuy flavors you already own.
How do I keep my coffee station from looking cluttered?
Three rules: everything on one tray (physical boundary), matching or coordinated containers (visual calm), and a one-week supply limit (nothing stockpiled at the station). Clutter at a coffee station is almost always backup supplies that belong in the pantry.
Can I set up a coffee station in a rental?
Absolutely — the rolling cart setup needs zero drilling and zero permanent changes, and adhesive hooks hold mugs without damaging walls. Everything here is renter-safe by design.
Brew Better Mornings, Every Morning
Two minutes to great coffee, zero morning scavenger hunts — that’s what a real station buys you. Set yours up this weekend, then grab our free cleaning and organization checklists and keep the momentum going through the rest of the kitchen.