
Open any kitchen cabinet and you know the scene: a landslide of plastic containers, lids that never match, and that one container with no lid that you keep anyway, just in case. Food storage containers are supposed to make leftovers easy, but without a system they become one of the messiest zones in the kitchen — and a daily source of small frustration when you are packing lunch in a hurry. These food storage container organization tricks turn that cabinet into a system that takes seconds to use.
⏱️ Short on time?
Grab our FREE printable checklists — the exact routines behind every calm home on this blog:
📋 Room-by-Room Checklist (PDF)📅 Weekly Reset Checklist (PDF)
Part of our Kitchen Cleaning & Organization Guide, which brings every related post together in one place.
The fix is simpler than a full kitchen remodel. Most container chaos comes from three problems: too many mismatched pieces, lids stored separately from bases, and no clear home for each size. Sort those three things out and the whole cabinet calms down. These 19 ideas work for deep cabinets, small kitchens, renters, and big families — most cost under $25 and take less than an hour.

Start With a Purge: Keep Only What Works
Before you buy a single organizer, empty the cabinet completely. A system built on top of broken, stained, and lidless containers will never stay tidy.
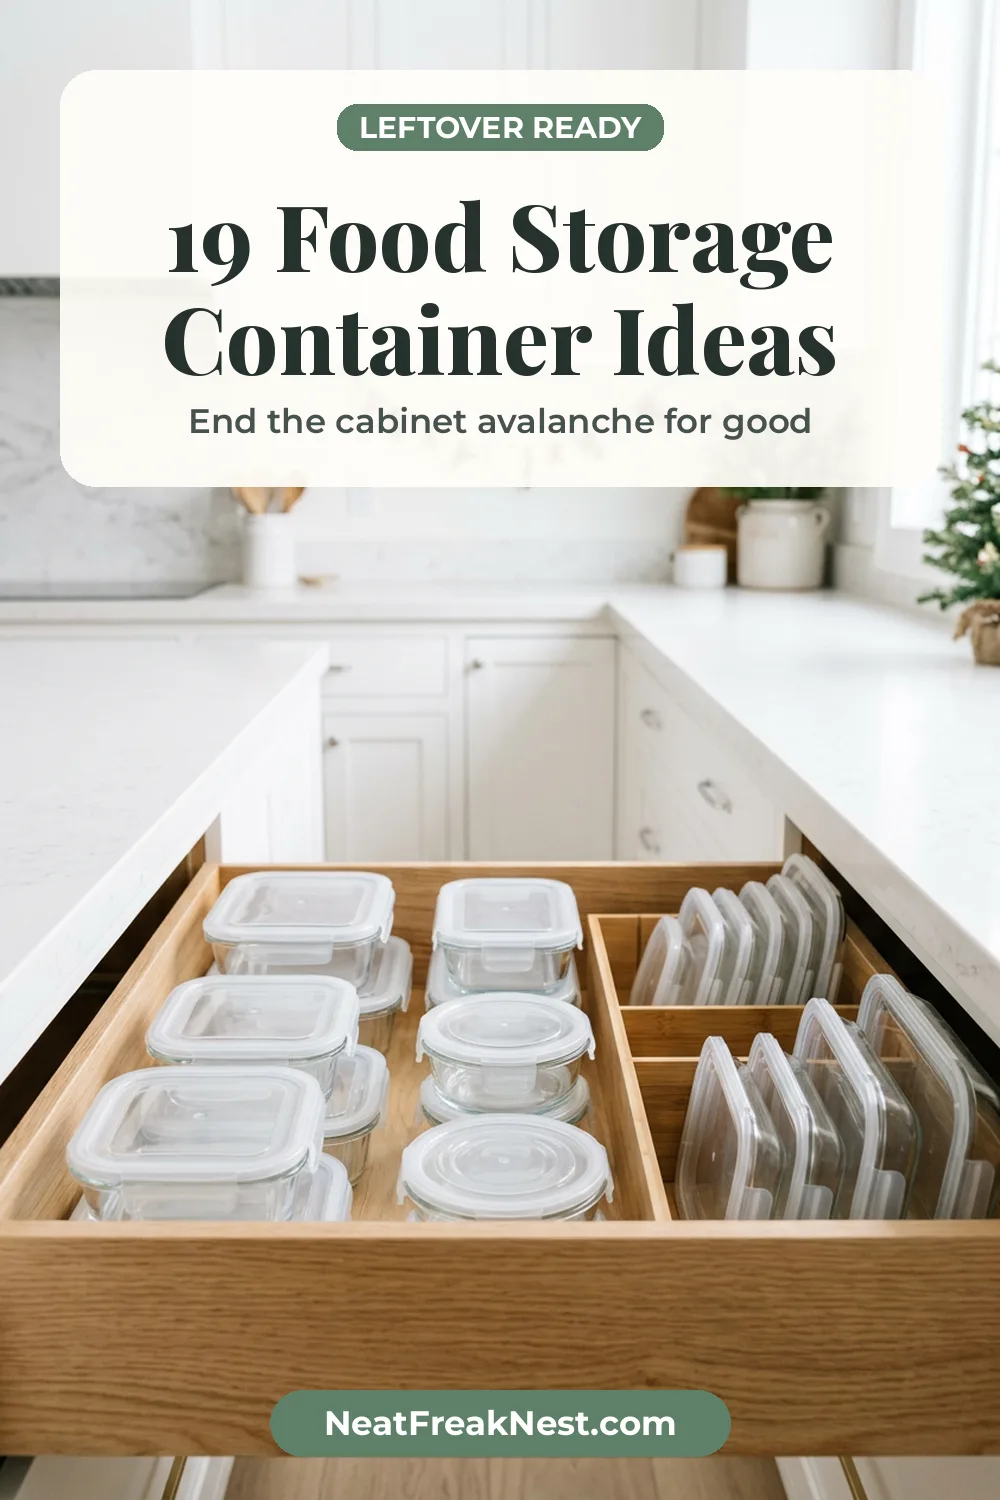
1. Match every lid to its base — and toss the orphans
Spread everything on the counter and pair each container with its lid. Anything without a match goes straight into recycling or the trash, no exceptions. Most households lose a third of their collection in this step alone, and the cabinet instantly feels bigger. If a lid fits two containers, keep the better one and let the other go.
2. Retire stained, warped, and smelly containers
Containers that are warped from the microwave, stained orange from tomato sauce, or still smell like last month’s curry are not saving you money — they are taking up space better containers could use. Keep only pieces you would actually be happy packing lunch in. A smaller set you trust beats a big set you avoid.
3. Switch to one matching set when you can
The single biggest upgrade is a matching set where lids are interchangeable across sizes ($20–30 for a 20-plus piece set). When every lid fits several bases, matching stops being a puzzle. You do not have to replace everything at once — start with the sizes you use daily, then add matching pieces as old ones wear out.
4. Decide your container count and stick to it
Pick a number that fits your cabinet — for most households, 10 to 12 containers is plenty — and treat it as a hard limit. When a new container comes in, an old one leaves. This one rule stops the slow creep that fills cabinets again within months. If you regularly cook for a crowd, allow a few extra large pieces, but keep the limit written on the inside of the cabinet door so everyone follows it.
5. Keep a small “extras” bin for one month only
Not ready to toss the maybe-useful pieces? Put them in a labeled bin with today’s date. If you have not reached for anything in it after a month, donate or recycle the whole bin unopened. It is a gentler purge that still ends with a decision, and it works especially well when family members disagree about what to keep.
Cabinet and Drawer Systems That Actually Work
Once the set is trimmed, give every size a fixed home. Containers slide around because they have no boundaries — add the boundaries and the mess stops.
6. File lids upright like books
Stacking lids in a pile is why you can never find the right one. Stand lids upright in a small bin, a dish rack, or a vertical lid organizer ($8–12) so you can flip through them like files. Put the bin right next to the containers, not in a different cabinet — lids and bases stored apart is the number-one cause of mismatch frustration.
7. Nest containers by size, lids separately
Nesting saves space, but nesting with lids on wastes it. Stack containers inside each other by size, largest on the bottom, and file the lids separately in their upright bin. You will fit twice as many containers in the same cabinet, and grabbing one size no longer means unstacking the whole pile. For glass containers, slip a small square of shelf liner between pieces so they do not clatter or chip.
8. Use a deep drawer if you have one
A deep drawer beats a deep cabinet for containers every time: you see everything at a glance instead of digging to the back. If your kitchen has a spare deep drawer, move containers there, with lids filed in a small bin at the front. No deep drawer? A pull-out shelf insert ($15–20) in a regular cabinet gives you the same reach-in-and-see-it benefit without any remodeling.
9. Add shelf risers to double the space
A single tall cabinet shelf wastes the air above short containers. A stackable shelf riser ($10–15) creates a second level, so small containers live on top and large ones underneath. This is one of the cheapest fixes in this guide and it works in rentals, since nothing is drilled or screwed in. Pair it with our pantry organization ideas if your pantry shelves have the same wasted-height problem.
10. Zone containers by use, not by size alone
Group containers the way you actually cook: lunch-packing containers together, leftover containers together, baking and bulk-storage pieces together. When the lunch containers live near the fridge and the baking containers near the oven, packing and storing take seconds instead of a cabinet-wide search. Label each zone with a small piece of tape inside the cabinet until the habit sticks.
11. Use the cabinet door for flat lids
Flat lids slide around and disappear under stacks. Mount a slim wire rack or adhesive hooks ($5–10) on the inside of the cabinet door and slot flat lids there. It uses dead space, keeps lids visible, and frees a whole section of shelf. This is a renter-friendly fix — adhesive mounts peel off cleanly when you move.
Fridge and Pantry Zones for Stored Food
Organization does not stop at the cabinet. Containers in the fridge and pantry need the same clear zones, or leftovers get buried and forgotten.
12. Give leftovers one fridge shelf
Designate a single fridge shelf — ideally at eye level — as the leftovers zone. Every container of cooked food goes there, newest at the back, oldest at the front. When the shelf is full, nothing new goes in until something is eaten or tossed. This one zone ends the “what is this and when did we make it?” problem, and it pairs well with the system in our freezer organization ideas for longer-term storage.
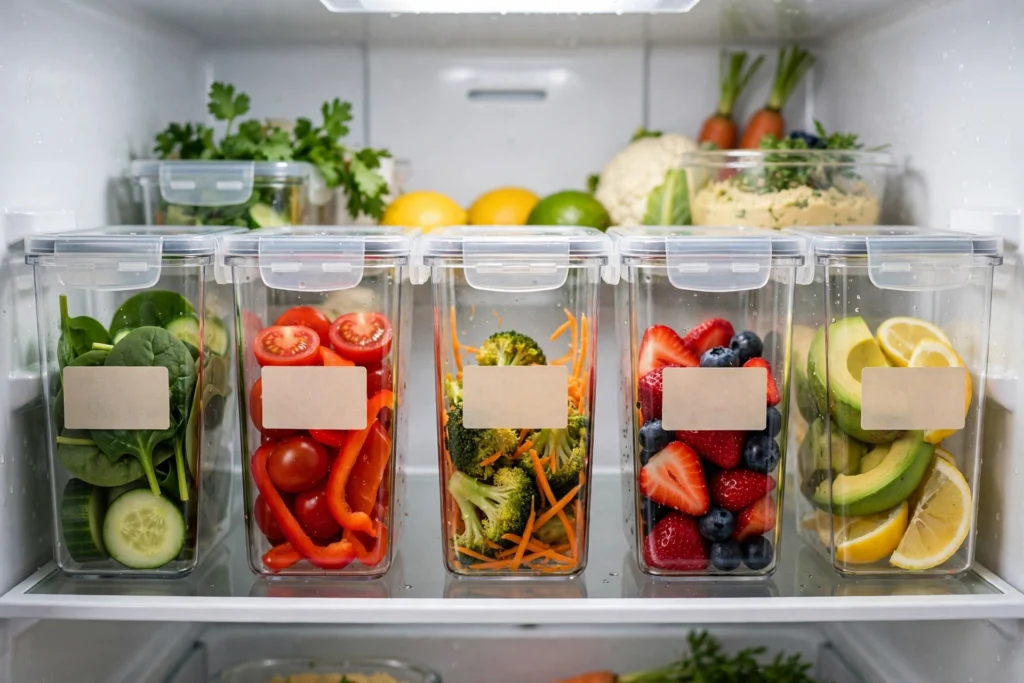
13. Label leftovers with masking tape and a marker
A strip of masking tape on the lid with the dish name and date takes five seconds and saves real food waste. No more sniff-tests or guessing games. Keep a roll of tape and a marker in a small cup on the fridge door so labeling becomes part of putting food away, not an extra chore. Clear containers help too — when you can see what is inside, you are far more likely to eat it.
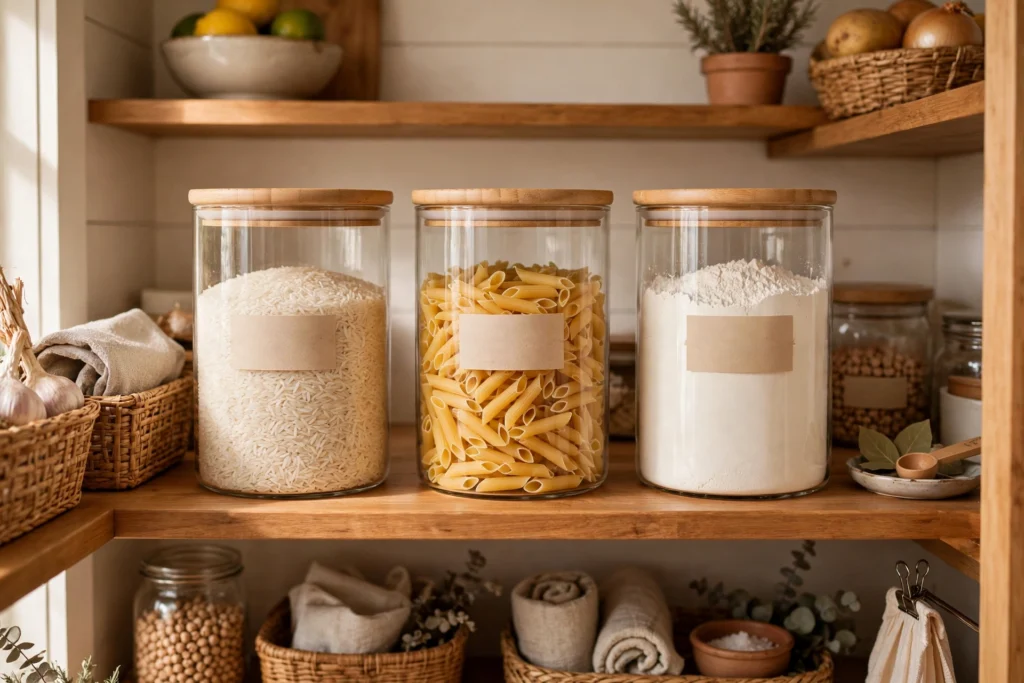
14. Store dry goods in matching clear containers
Flour, rice, pasta, and cereal stay fresher and look far tidier in matching clear canisters ($15–25 for a set) than in half-open bags and boxes. Decant when you open a new bag, label the canister, and keep them on one pantry shelf. You will see at a glance what needs restocking, and pantry moths lose their favorite hiding spots. For the full pantry version of this system, see our spice cabinet organization ideas — the same decant-and-label habit works there too.
15. Keep a “use first” bin in the fridge
Put soon-to-expire leftovers, opened sauces, and half-used ingredients in a small open bin at the front of the fridge. When you are deciding what to eat, start with the bin. Families that use a use-first bin waste noticeably less food, because the items that usually get forgotten are suddenly the easiest to reach.
16. Freeze in flat, labeled bags when containers run out
For soups, sauces, and stews, freezer bags laid flat stack like files and thaw faster than rigid containers. Fill the bag, press out the air, label it, and freeze it flat on a baking sheet before filing it upright in a bin. You save container space for fridge use, and a frozen flat bag thaws in a fraction of the time a solid block takes.
Habits That Keep the System Working
A good setup lasts about a month without habits to back it up. These three keep the cabinet tidy for good.
17. Put lids back on immediately after washing
The habit that matters most is also the simplest: when a container is washed and dried, its lid goes back on or straight into the lid file — never into a “deal with later” pile on the counter. Lids left loose are lids lost. If everyone in the household follows this one rule, the cabinet largely organizes itself.
18. Do a 10-minute container reset every month
Once a month, pull everything out, re-match lids, toss anything cracked or lidless, and wipe the shelf. Ten minutes is enough, and it catches the slow drift before it becomes another avalanche. Put it on the same day as your weekly reset routine once a month and it becomes automatic rather than a dreaded project.
19. Buy containers only as a set, never one at a time
Random single containers are how mismatched collections start. From now on, buy only matching sets where lids interchange, and only when you are below your container limit. If a set goes on sale, check the limit first — a bargain that breaks the system is not a bargain.
Save this for later
Pin this image to your Pinterest board so it’s there when you need it.
Good to know: Label every container with the date, and use the FoodSafety.gov cold food storage chart to see how long leftovers keep in the fridge and freezer.
Food Storage Container Organization FAQ
How many food storage containers do I actually need?
Most households need 10 to 12 containers: a few small ones for sauces and snacks, several medium ones for leftovers and lunches, and two or three large ones for family meals. Start there, then adjust after a month of real use — if one size is always in the dishwasher, add one of that size, not a whole new set.
Are glass or plastic containers better for organization?
Glass lasts longer, does not stain, and goes from fridge to oven, but it is heavier and breaks. Plastic is lighter and better for kids’ lunches and stacking. Many kitchens use both: glass for leftovers and meal prep at home, lightweight plastic for packed lunches. The key is keeping each type in its own zone so lids do not get mixed up.
How do I organize containers in a small kitchen with no deep drawers?
Use a pull-out shelf insert in a cabinet, file lids upright in a small bin, nest containers by size, and mount flat lids on the cabinet door. Those four moves together fit a full set into a single standard cabinet, even in a small kitchen or rental.
How do I stop losing container lids?
Store lids in one fixed spot — filed upright in a bin right next to the containers — and make “lid back on after washing” a household rule. Lids get lost when they have no home and when they sit loose on counters. One home plus one habit solves most of it.
Container chaos is not a storage problem, it is a system problem — and systems are fixable in an afternoon. Start with the purge: match every lid, toss the orphans, and set your container limit. Then file the lids upright, nest by size, and give leftovers one fridge shelf. Your future self, packing lunch at 7 a.m., will be grateful.
Want a printable to walk you through it? Grab our free kitchen organization checklist — it covers containers, pantry, and fridge zones in one check-off list, so you can work through this guide shelf by shelf.