
You open the pantry to grab the pasta and end up excavating. Three half-open bags of rice slide out, a can of beans from 2022 rolls across the floor, and somewhere in the back there’s a spice you bought twice because you couldn’t find it the first time. These pantry organization ideas fix that for good.
⏱️ Short on time?
Grab our FREE printable checklists — the exact routines behind every calm home on this blog:
📋 Room-by-Room Checklist (PDF)📅 Weekly Reset Checklist (PDF)
Part of our Kitchen Cleaning & Organization Guide, which brings every related post together in one place.
A messy pantry doesn’t just waste your time — it wastes your money. The average household throws away hundreds of dollars of expired food a year, and most of it died quietly behind the cereal boxes. The fix isn’t a full pantry renovation. It’s zones, containers, and labels — applied in one focused afternoon.

Pantry Organization Ideas: What You’ll Learn
- How to zone your pantry so every category has a home
- The 5 container types that solve 90% of pantry chaos
- Labeling systems that actually survive daily use
- Small-pantry and deep-shelf fixes that reclaim dead space
- A maintenance routine that keeps it organized for good
Zone It Like a Store
Stores are easy to shop because everything has a zone. Your pantry works the same way — group like with like and the digging stops.
1. Empty it completely first
Pull everything out onto the counter or table. Yes, all of it. You can’t organize around clutter, and you need to see what you actually own. Check expiration dates as you go and toss anything expired or stale — most pantries lose 20% of their contents right here. Wipe the shelves while they’re empty; you’ll never have a better chance.
2. Sort into categories before buying anything
Make piles: breakfast, snacks, canned goods, baking, pasta and grains, oils and vinegars, spices, backstock (duplicates and bulk buys). This is the step everyone skips, and it’s the reason organizers fail — containers can’t fix a pantry with no categories. Your piles tell you exactly what zones and how many bins you need.
3. Assign zones by how you cook
Put daily items at eye level and between waist and shoulder height — that’s your prime real estate. Breakfast and snacks go where hands reach fastest. Baking supplies can live higher since you use them weekly, not daily. Heavy items (big bags of flour, bulk oil) go low where they’re stable and easy to lift. Backstock goes on the highest shelf or the deepest corner — it’s storage, not daily access.
4. Give the kids their own low zone
If little hands raid the pantry, create one low bin that’s theirs: approved snacks at their height. It ends the climbing, the toppling, and the mysterious trail of cracker crumbs. Refill it weekly from your backstock shelf.
5. Keep a “use first” basket
Every pantry needs a triage zone: a small basket or bin for items nearing expiration, the half-bag of lentils, the sauce that needs using this week. Put it at eye level. Check it when meal planning. This one basket quietly prevents most food waste.
Containers That Earn Their Keep
You don’t need forty matching containers. You need five types, bought after measuring.
6. Use clear bins for categories
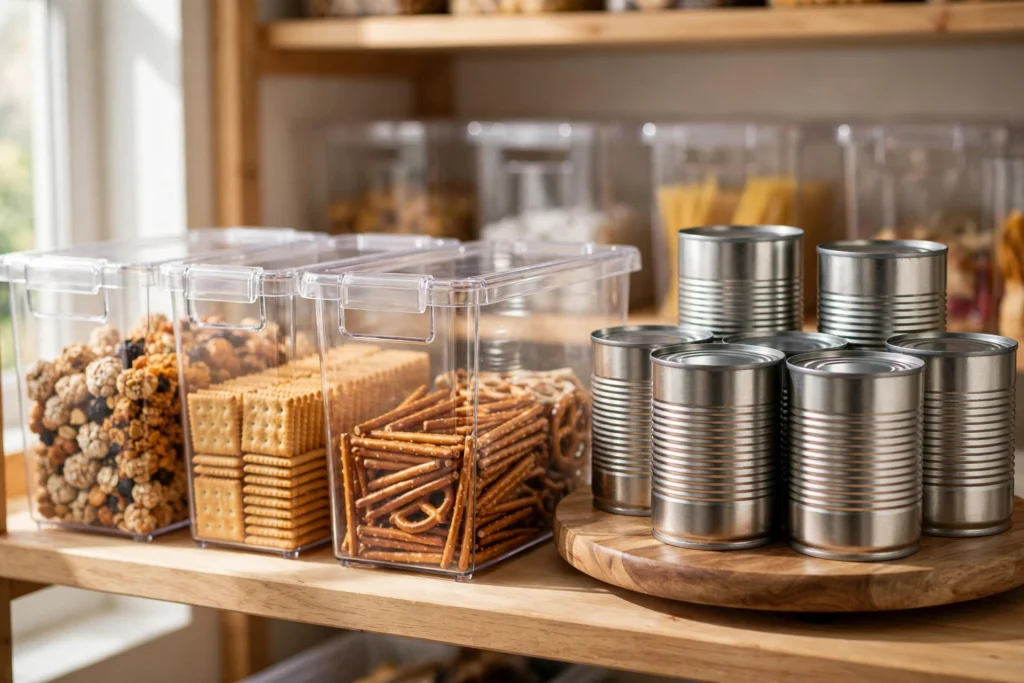
Clear stackable bins ($8–15 each) are the workhorse: one for snacks, one for packets and mixes, one for baking overflow. Clear matters — you can see when something’s running low without pulling the bin out. Measure shelf depth before buying; bins that stick out past the shelf edge catch on the door and everything behind them becomes unreachable.
7. Decant the big five into airtight jars
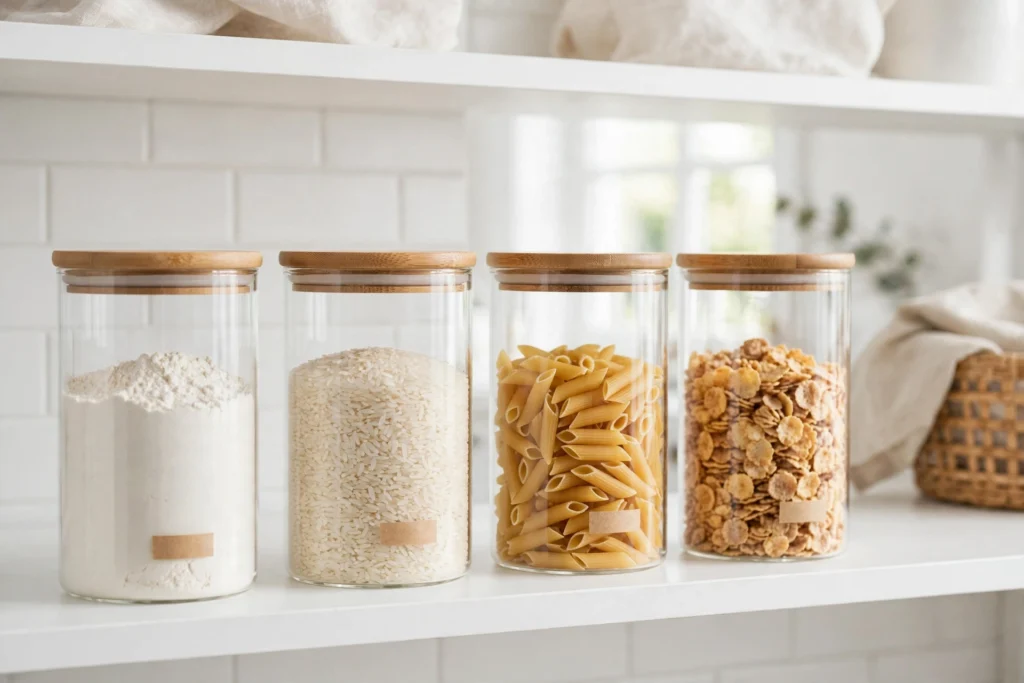
Flour, sugar, rice, pasta, and cereal go stale fastest in their original packaging. Decant just these five into airtight glass or BPA-free containers ($20–35 for a set). Everything else can stay in its box. This is the 80/20 of decanting — maximum freshness payoff for minimum effort and cost.
8. Add a turntable for oils and vinegars
Oils, vinegars, and sauces live in deep cabinets where bottles hide behind each other. A 10- or 12-inch turntable ($10–15) spins the whole row to you — no more knocking over the olive oil to reach the sesame oil. One turntable per deep shelf or cabinet.
9. Use tiered risers for cans
Single-file rows of cans waste the vertical half of every shelf. A three-tier can riser ($12–18) staggers cans like stadium seating so you can read every label. Group by type — tomatoes together, beans together — and face all labels forward when you restock. It takes ten extra seconds and saves minutes every time you cook.
10. Corral small packets in a divided organizer
Taco seasoning, gravy mix, sauce packets — they slide everywhere and vanish. A small divided organizer or even a $5 desk tray keeps them upright and visible. Sort by cuisine or meal type so you grab the right packet the first time.
Labels That Survive Real Life
An unlabeled bin is just a prettier junk drawer. Labels are what make the system stick — especially with other people in the house.
11. Label every bin and jar
Chalk labels ($8 for a pack) on bins, or a simple label maker for jars — pick one system and use it everywhere. Label the contents AND the category: “Snacks,” “Baking,” “Rice & Grains.” When everything’s labeled, anyone in the house can put groceries away correctly, which is the real test of a system.
12. Date your decanted goods
Put a small piece of masking tape on the bottom of each jar with the decant date. Flour goes stale in 3–6 months, and you’ll never remember when you filled the jar. This takes five seconds and ends the “is this still good?” guessing game.
Small Pantry & Deep Shelf Fixes
Small and awkward pantries need different tactics — the goal is reclaiming space the shape is wasting.
13. Use the back of the door
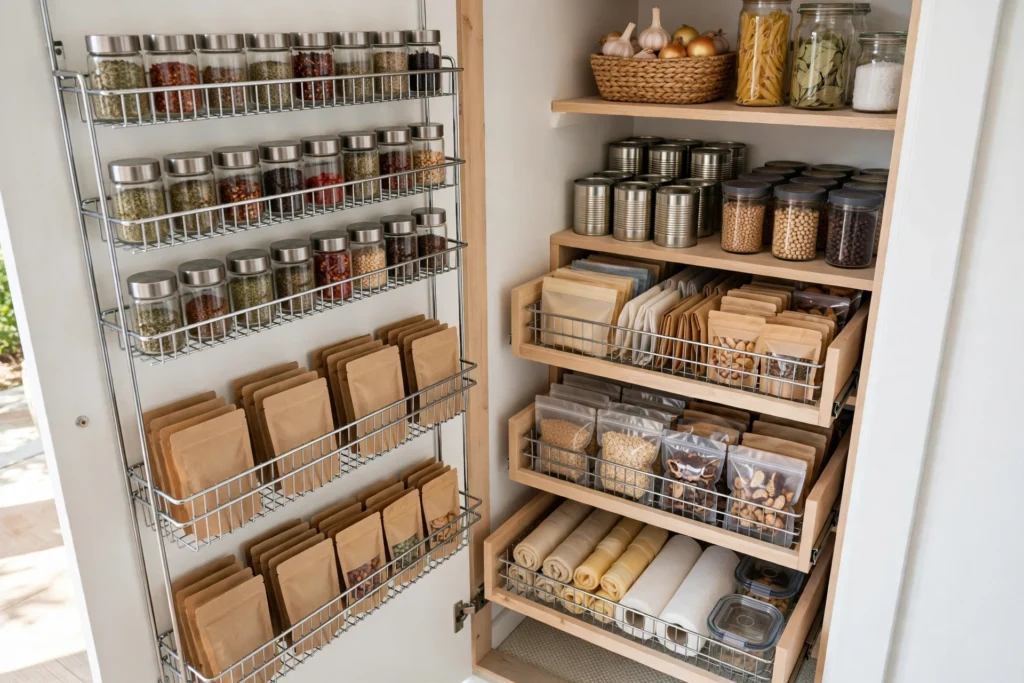
An over-the-door rack ($20–30) adds the equivalent of two extra shelves for spices, packets, and small jars. Measure your door clearance first — the rack needs about 3 inches of depth and the door must still close. In a small pantry, this is the highest-ROI upgrade there is.
14. Add pull-out drawers to deep shelves
Deep shelves are where food goes to expire unseen. Sliding pull-out drawers or baskets ($25–40 per shelf) bring the back of the shelf to you. If that’s too pricey, a long low bin you can slide out works the same way for a fraction of the cost. The rule: if you can’t see it without moving things, it needs to slide.
15. Go vertical with shelf risers
Most pantry shelves are 12–16 inches apart with cans only 4 inches tall — half the air is wasted. Under-shelf baskets ($10–15) clip onto the shelf above and hold mugs, packets, or produce, while freestanding risers double the surface for short items. Look up before you buy more bins; the empty air is free storage.
Your Pantry Organization Checklist
Sort & Zone
- Pantry fully emptied and shelves wiped
- Expired items tossed (check every date)
- Sorted into categories: breakfast, snacks, cans, baking, grains, oils, spices, backstock
- Zones assigned by frequency of use (daily at eye level)
- Kids’ snack zone created at their height
- “Use first” basket for near-expiry items
Containers
- Clear bins for each category (measured to shelf depth)
- Big five decanted into airtight jars (flour, sugar, rice, pasta, cereal)
- Turntable for oils and vinegars
- Tiered riser for cans, labels facing forward
- Divided organizer for small packets
Labels
- Every bin and jar labeled
- Decant dates on jar bottoms
Small Spaces
- Over-the-door rack (if clearance allows)
- Pull-out drawers or slide bins for deep shelves
- Shelf risers or under-shelf baskets for vertical space
Maintain
- 10-minute weekly tidy (toss expired, refill zones)
- One-in-one-out for new categories
Related guides
Save this for later
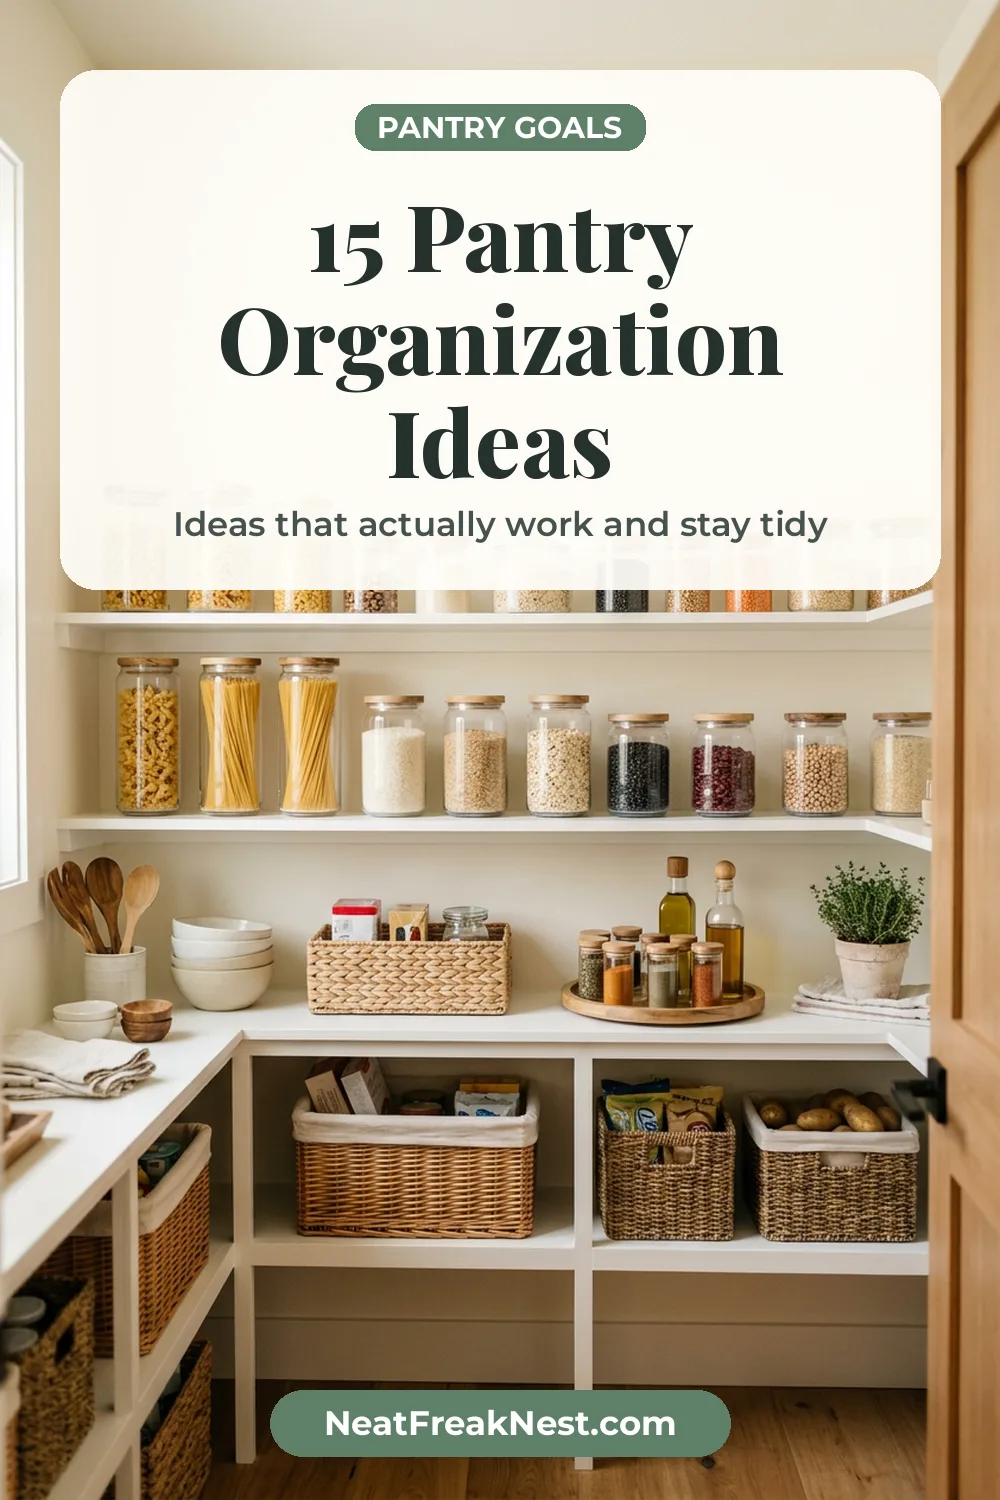
Pin this image to your Pinterest board so it’s there when you need it.
 Save to Pinterest
Good to know: Wondering how long canned goods and dry staples really last? The USDA’s shelf-stable food guide explains storage times and when to toss dented cans.
Keep going: working with extra-deep shelves? Follow our guide on how to organize a deep pantry with pull-out bins, turntables and risers.
FAQ
How do I organize a very small pantry? Prioritize the door (over-door rack), vertical space (risers and under-shelf baskets), and decanting only the big five. Small pantries fail when people buy bins before purging — toss expired and duplicate items first, then measure, then buy exactly what fits.
Should I decant everything into matching containers? No — decant flour, sugar, rice, pasta, and cereal, and leave the rest in original packaging inside labeled bins. Full decanting looks great on camera but costs a fortune and takes hours to maintain. The big five get you 80% of the benefit.
How often should I clean out the pantry? A 10-minute weekly tidy (toss expired, wipe spills, refill the kids’ zone) plus a full empty-and-sort twice a year. Pantries drift fast because groceries arrive weekly — the weekly reset is what protects the system.
Start with the empty-and-sort — one afternoon, and you’ll throw away the expired stuff that’s been silently costing you money. Then zone, bin, and label.
Free printables: grab our Room-by-Room Cleaning Checklist and Weekly Reset Planner — perfect for scheduling your twice-a-year pantry overhaul.
Keep going: the cabinet under your kitchen sink needs the same zone treatment — see 15 Under-Sink Organization Ideas. For a fridge that matches your newly organized pantry, Fridge Organization Aesthetic shows the same system applied to cold storage. And if you want the whole thing done on a budget, 19 Dollar Tree Finds That Look Expensive has bins and labels for a few dollars.
Pingback: Fall Cleaning Checklist: Reset Your Home for Cozy Season - Neat Freak Nest
Pingback: Holiday Baking Prep: Organize Your Kitchen Like a Pro - Neat Freak Nest
Pingback: 17 Coffee Station Organization Ideas for Better Mornings
Pingback: 19 Spice Cabinet Organization Ideas That Make Cooking Easier
Pingback: 19 Food Storage Container Organization Ideas That End the Cabinet Avalanche